

Installed memory not showing up on Windows 11
Mar 10, 2024 am 09:31 AM
If you have installed new RAM but it is not showing up on your Windows computer, this article will help you solve the problem. Usually, we improve the performance of the system by upgrading RAM. However, system performance also depends on other hardware such as CPU, SSD, etc. Upgrading RAM can also improve your gaming experience. Some users have noticed that installed memory is not showing up in Windows 11/10. If this happens to you, you can use the advice provided here.
Installed memory not showing up on Windows 11
If the installed RAM is not showing up on your Windows 11/10 PC, the following suggestions will help you.
Below, we have explained all these fixes in detail.
1] Is the installed RAM compatible with your computer motherboard?
When purchasing new memory, the most important factor that users must consider is memory compatibility. The new RAM must be compatible with the motherboard, otherwise it cannot be installed and used properly. To ensure you choose the correct memory module, you can visit the motherboard manufacturer's official website to find compatible RAM models. This can avoid system stability problems caused by incompatibility and ensure the smooth installation and operation of the memory.
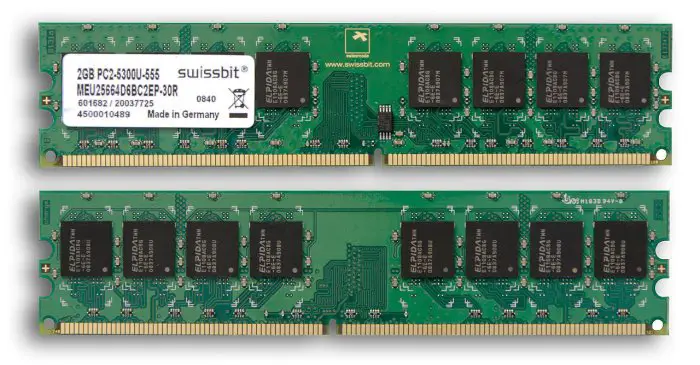
If the memory modules you purchased are not compatible with the motherboard, you will need to replace them.
2] Check memory status in BIOS
You can confirm whether the installed memory module is recognized by checking the computer's BIOS. Enter the BIOS interface and check the display of installed memory. If the BIOS successfully displays the installed memory, then you may need to try other methods to resolve the issue.
If the BIOS fails to detect the memory module (S), the memory module (S) may be faulty. However, we recommend trying all other possible fixes before jumping to conclusions.
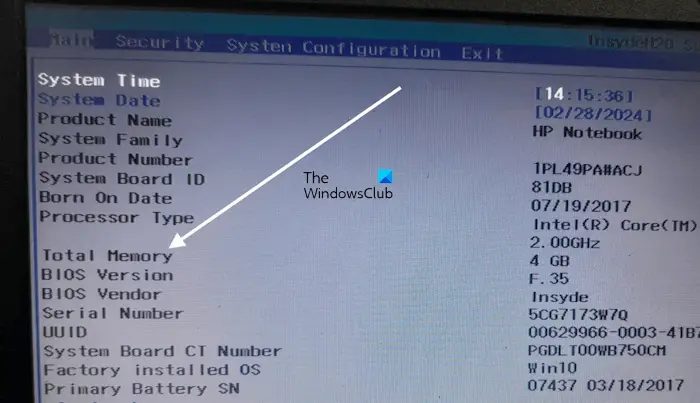
Different brands of computers have different dedicated keys to enter BIOS settings. Visit your computer manufacturer's official website to learn the correct key to enter BIOS setup. After entering your computer's BIOS, look for System Information to view memory information.
3]Reseat the memory
Make sure all memory modules are properly seated. Problems may occur if the RAM is not installed correctly. Therefore, we recommend that you remove all memory modules and install them correctly. Before installing a memory module, clean the memory module and memory slots because dust and debris inside the memory slots can sometimes prevent the computer from detecting the memory module.
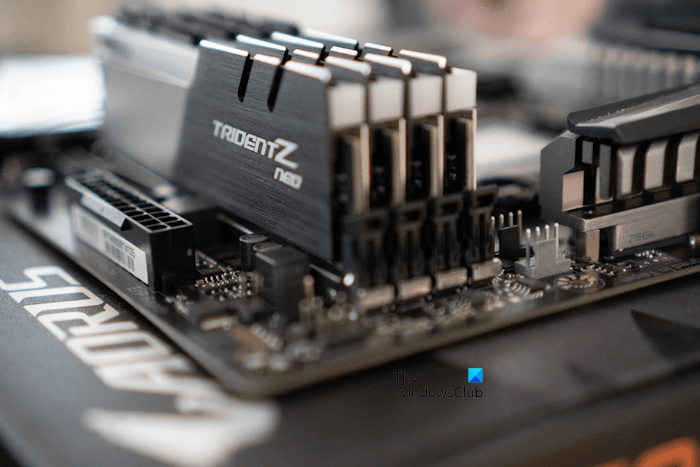
4]Install the memory modules in the correct order
Each motherboard has different RAM installation configurations. Proper configuration should be followed when installing RAM. Otherwise, your computer will not recognize the installed memory module. For example, if you only have two RAM sticks, but your computer motherboard has 4 RAM slots, the RAM sticks should be installed in some specific RAM slots so that your computer can detect them.
This information can be found in the user manual for your computer's motherboard. Refer to your computer's motherboard's user manual for the correct order for installing RAM.
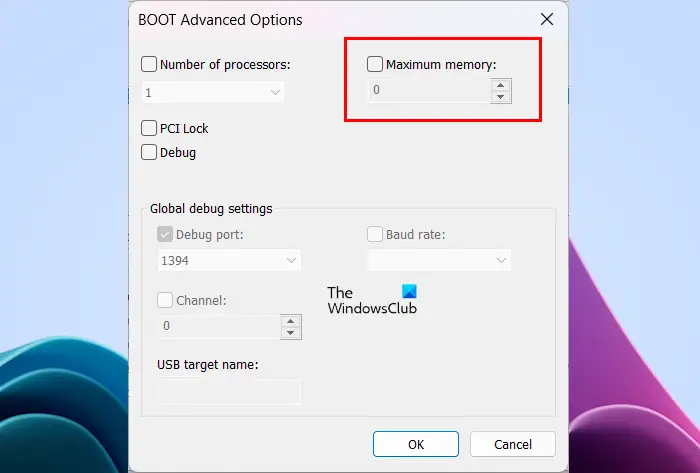
5]Check memory limit
In Windows computers, you can limit memory. If this limit is activated on your computer, it will only detect the maximum RAM specified in the memory limit. Follow the instructions mentioned below to check:
After completing the above steps, restart your computer. This time the issue should be resolved.
6]Update or reset BIOS
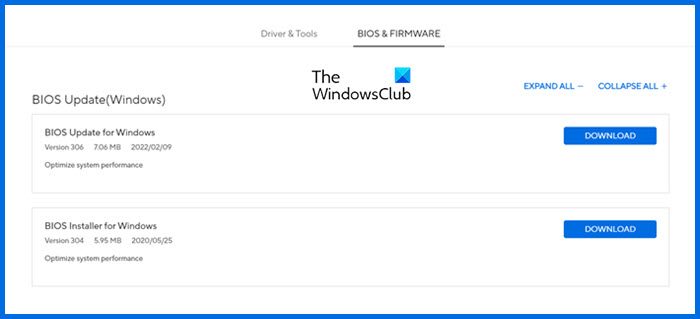
We also recommend that you update your BIOS to the latest version or reset BIOS settings to default. To update your BIOS to the latest version, you can download the latest version from your computer manufacturer's official website and then run the installer file with administrative rights.
7]The memory may be faulty
If your computer still does not recognize the memory module(s) despite trying all of the above fixes, the memory module(s) may be faulty. You can check this by installing a RAM Stick on another compatible computer motherboard (if you have one). If the memory is faulty, replace it.
that's all.
Why are only 8 GB of 16 GB RAM available in Windows 11?
The most common cause of this problem is memory limitations. If memory throttling is activated on your system, it will not detect all memory modules installed on your computer. You can check this in MSCONFIG's advanced options. Another cause of this problem is faulty memory module(s). However, if your memory stick is new, failure is less likely.
How to fix free memory on Windows 11?
If you have less RAM available on your system, close any unnecessary applications running in the background. You can view memory-hogging programs in Task Manager. If you don't use them, turn them off. Clearing the memory cache also helps reduce memory usage on Windows PC.
Read next: Fix Wrong RAM Speed ??on Windows.
The above is the detailed content of Installed memory not showing up on Windows 11. For more information, please follow other related articles on the PHP Chinese website!

Hot AI Tools

Undress AI Tool
Undress images for free

Undresser.AI Undress
AI-powered app for creating realistic nude photos

AI Clothes Remover
Online AI tool for removing clothes from photos.

Clothoff.io
AI clothes remover

Video Face Swap
Swap faces in any video effortlessly with our completely free AI face swap tool!

Hot Article
Hot Tools

Notepad++7.3.1
Easy-to-use and free code editor

SublimeText3 Chinese version
Chinese version, very easy to use

Zend Studio 13.0.1
Powerful PHP integrated development environment

Dreamweaver CS6
Visual web development tools

SublimeText3 Mac version
God-level code editing software (SublimeText3)


 How to reset the TCP/IP stack in Windows
Aug 02, 2025 pm 01:25 PM
How to reset the TCP/IP stack in Windows
Aug 02, 2025 pm 01:25 PM
ToresolvenetworkconnectivityissuesinWindows,resettheTCP/IPstackbyfirstopeningCommandPromptasAdministrator,thenrunningthecommandnetshintipreset,andfinallyrestartingyourcomputertoapplychanges;ifissuespersist,optionallyrunnetshwinsockresetandrebootagain
 How to reset the Microsoft Store in Windows
Jul 31, 2025 am 08:23 AM
How to reset the Microsoft Store in Windows
Jul 31, 2025 am 08:23 AM
ResettheMicrosoftStoreviaSettingsbygoingtoApps>Installedapps,selectingMicrosoftStore,clickingAdvancedoptions,thenRepairandResetifneeded.2.Ifthatfails,re-registertheStoreusingPowerShellasadminwiththecommand:Get-AppXPackage-NameMicrosoft.WindowsStor
 How to install Windows on a Mac without Boot Camp
Jul 31, 2025 am 11:58 AM
How to install Windows on a Mac without Boot Camp
Jul 31, 2025 am 11:58 AM
Without BootCamp, installing Windows on Mac is feasible and works for different chips and needs. 1. First check compatibility: The M1/M2 chip Mac cannot use BootCamp, it is recommended to use virtualization tools; the Intel chip Mac can manually create a boot USB disk and install it in partition. 2. Recommended to use virtual machines (VMs) for M1 and above chip users: Windows ISO files, virtualization software (such as ParallelsDesktop or UTM), at least 64GB of free space, and reasonably allocate resources. 3. IntelMac users can manually install it by booting the USB drive: USB drive, WindowsISO, DiskU is required
 A guide to custom Windows installation options
Aug 01, 2025 am 04:48 AM
A guide to custom Windows installation options
Aug 01, 2025 am 04:48 AM
Choose"Custom:InstallWindowsonly(advanced)"forfullcontrol,asitallowsacleaninstallthatremovesoldissuesandoptimizesperformance.2.Duringsetup,managepartitionsbydeletingoldones(afterbackingupdata),creatingnewpartitions,formatting(usingNTFS),ors
 Step-by-step guide to installing Windows from an ISO file
Aug 01, 2025 am 01:10 AM
Step-by-step guide to installing Windows from an ISO file
Aug 01, 2025 am 01:10 AM
DownloadtheWindowsISOfromMicrosoft’sofficialsite.2.CreateabootableUSBusingMediaCreationToolorRufuswithaUSBdriveofatleast8GB.3.BootfromtheUSBbyaccessingthebootmenuoradjustingBIOS/UEFIsettings.4.InstallWindowsbyselectingcustominstallation,choosingtheco
 How to manage AppLocker policies in Windows
Aug 02, 2025 am 12:13 AM
How to manage AppLocker policies in Windows
Aug 02, 2025 am 12:13 AM
EnableAppLockerviaGroupPolicybyopeninggpedit.msc,navigatingtoApplicationControlPolicies,creatingdefaultrules,andconfiguringruletypes;2.Createcustomrulesusingpublisher,path,orhashconditions,preferringpublisherrulesforsecurityandflexibility;3.Testrules
 How to install Windows on a Mac
Jul 31, 2025 am 10:07 AM
How to install Windows on a Mac
Jul 31, 2025 am 10:07 AM
ForIntel-basedMacs,useBootCampAssistanttocreateadual-bootsystemwithWindowsbypreparingaUSBdrive,downloadingaWindowsISO,partitioningthedisk,andinstallingWindowsalongsidemacOSwithsupportdrivers.2.ForAppleSiliconMacs(M1/M2/M3),usevirtualizationsoftwareli
 how to fix 'reboot and select proper boot device' on a win pc
Aug 01, 2025 am 05:20 AM
how to fix 'reboot and select proper boot device' on a win pc
Aug 01, 2025 am 05:20 AM
First,checkandcorrectthebootorderinBIOS/UEFItoensuretheWindowsdriveistheprimarybootdevice.2.VerifytheWindowsdriveisdetectedinBIOSunderstorageordrives.3.Ifnotdetected,troubleshoothardwareconnectionsbyreseatingSATAandpowercablesfordesktopsorreseatingth
