

How to install the Group Policy Management Console on Windows 11
May 17, 2023 am 09:59 AM
Today’s topic is how to install the Group Policy Management Console (also known as GPMC) on Windows 11. The tools we're discussing improve Group Policy management and make it easier for IT and system administrators to understand.
Please be careful not to confuse the Local Group Policy Editor (gpedit.msc) with the Group Policy Management Console (GPMC). In terms of local system settings, Gpedit is used with the registry, but GPMC is used with server management settings for domain-based networks.
You need to download and install the Windows Remote Server Administration Tools, sometimes called RSAT, to complete this operation.
Using remote server management tools, IT administrators can manage roles and features that have been installed on computers located in different locations.
After we look at what this tool does in more detail, we’ll show you how to install the Group Policy Management Console on Windows 11. Follow us!
What is GPMC used for?
To make Group Policy settings, you need to configure them using Group Policy objects (GPOs) that can be linked to domains, sites, and organizational units (OUs).
GPOs can be applied based on the results of Windows Management Instrumentation (WMI) filters, providing greater flexibility. WMI filters should be avoided if possible because they significantly increase policy processing time.

Administrators can use the Group Policy Management Console (GPMC) to manage Group Policy in an Active Directory forest and collect information to resolve related issues.
GPMC is also a built-in Windows management tool that allows administrators to manage Group Policy in an Active Directory forest and collect information to solve their problems.
In Microsoft Windows Server Manager, GPMC can be accessed through the Tools menu. Because domain controllers are not recommended for day-to-day management operations, you should download and install the Remote Server Administration Tools (RSAT) for your operating system.
If you don't use Group Policy Editor often, you probably don't need it at all. GPMC is primarily used as a Group Policy Editor management tool for domain-based network environments. Therefore, the type of user who needs GPMC is the user responsible for information technology.
If you want to know the specific functions of the Group Policy Management Console, please install it and check it out. If you change your mind, you can uninstall it at any time.
How to install Group Policy Management Console on Windows 11?
1. Use optional features
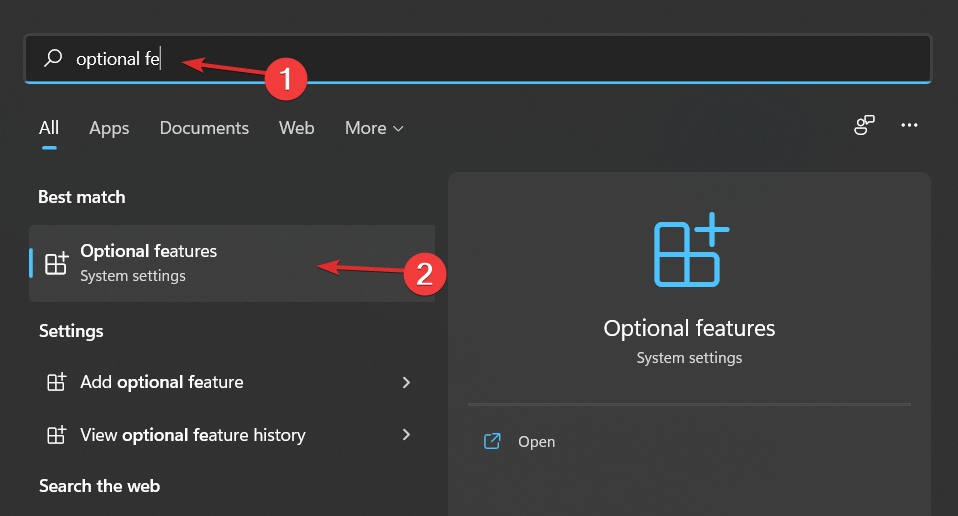
- Press the Windows S key to open the search bar and enter Optional features , then click on the top result to open it.

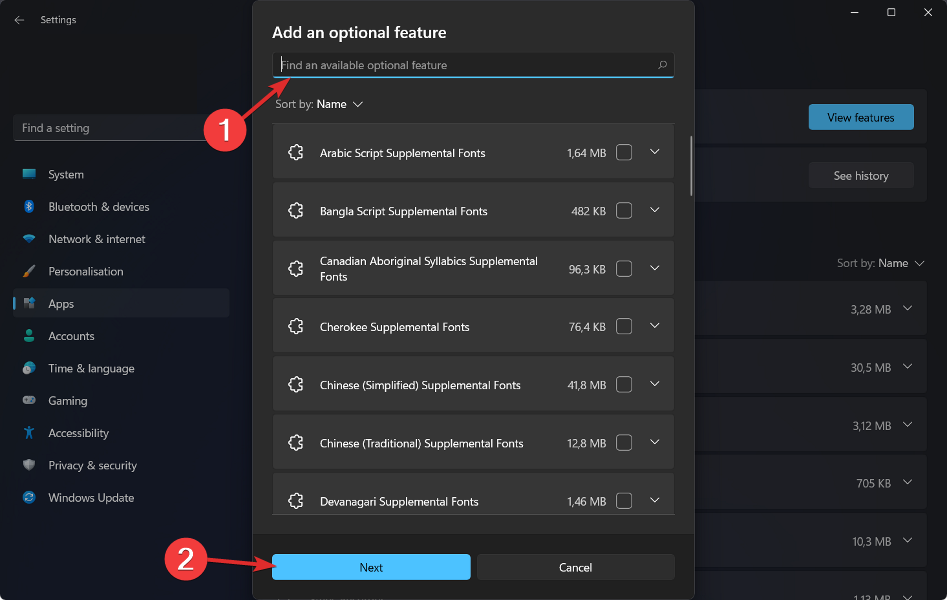
- Next, click Add Optional Features and search for RSAT: Group Policy Management Tool, select it and click Next, then follow the on-screen instructions.
It should be noted that only certain versions of Windows 11, such as Pro and Enterprise, can access Gpedit and GPMC. "Optional Features" is exactly what it sounds like, you are free to enable or disable features as you see fit.
However, adding functionality just for the sake of having it is a waste of time. Some features were developed specifically to give administrators in business or educational environments greater control over computer networks, such as remote access.
Individual machines should not enable these features as there is no need to do so. There are some old Windows tools that are no longer required and are now considered optional. These include programs such as Internet Explorer, Windows Media Player, and WordPad.
2. Using PowerShell
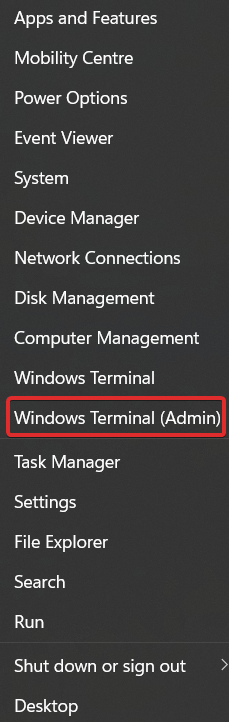
- Right-click the Start icon and click the Windows Terminal (Administrator) option. The PowerShell interface will open as a result.
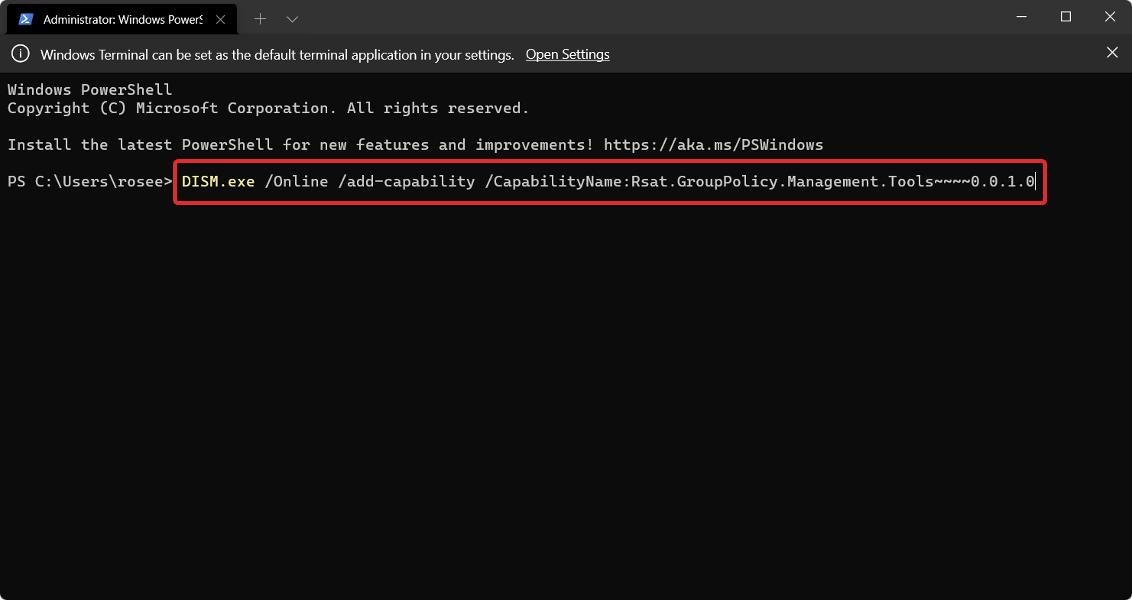
- Type or copy-paste the following command in PowerShell, then press Enter and let it run:
<strong>DISM.exe /Online /add-capability / CapabilityName:Rsat.GroupPolicy.Management.Tools~~~~0.0.1.0</strong>
How to open the Group Policy Management Console in Windows 11?
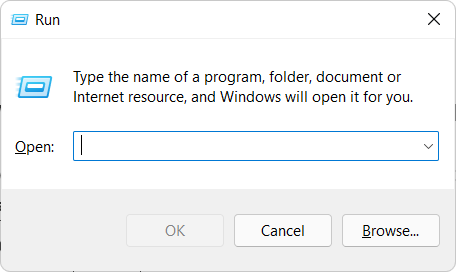
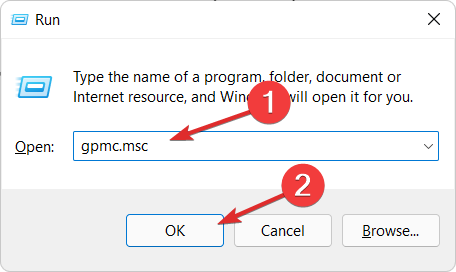
- Press the Windows R key to open the run box.
- Now enter gpmc.msc and hit Enter or press OK.
What is the difference between Gpedit MSC and Gpmc MSC?
Group Policy is a Windows feature that lets you manage the activity of accounts, applications, and the operating system itself. It is primarily intended for enterprise use, although it is useful for home users as well.
Settings that apply to a single computer are called single computer settings. While it's possible to build a complete configuration, it's not really useful on its own. Therefore, using Group Policy with Active Directory is a common practice in business environments.
Gpedit MSC is a Windows module or utility that allows administrators and Group Policy Administrators to manage and change them.

The Group Policy Editor terminal is represented by the file name gpedit.msc. It is primarily a graphical user interface for modifying registry keys, with some additional features. Manually editing entries is difficult because they are scattered throughout the registry.
The subfolder named Machine is used to store policies that apply to the computer itself, while the subfolder named User is used to store policies that apply to individual users.
Before the introduction of GPMC, administrators had to use various tools to maintain Group Policy.
It combines the functionality of tools such as Active Directory Users and Computers, Active Directory Sites and Services, Resultant Set of Policy (RSoP), and Access Control List Editor into one convenient package.
In addition to this, it includes a set of scriptable interfaces for managing Group Policy using C/C, allowing developers to create, backup and restore their objects as well as import, copy and rename them . It also allows developers to link GPO and Windows Management Instrumentation filters.
The above is the detailed content of How to install the Group Policy Management Console on Windows 11. For more information, please follow other related articles on the PHP Chinese website!

Hot AI Tools

Undress AI Tool
Undress images for free

Undresser.AI Undress
AI-powered app for creating realistic nude photos

AI Clothes Remover
Online AI tool for removing clothes from photos.

ArtGPT
AI image generator for creative art from text prompts.

Stock Market GPT
AI powered investment research for smarter decisions

Hot Article
Hot Tools

Notepad++7.3.1
Easy-to-use and free code editor

SublimeText3 Chinese version
Chinese version, very easy to use

Zend Studio 13.0.1
Powerful PHP integrated development environment

Dreamweaver CS6
Visual web development tools

SublimeText3 Mac version
God-level code editing software (SublimeText3)

 How to set a password for a folder in Win7 system?
Sep 29, 2025 am 10:24 AM
How to set a password for a folder in Win7 system?
Sep 29, 2025 am 10:24 AM
Nowadays, we are increasingly dependent on computers, and we cannot do without it in daily life, work or study. During use, we will store many important files on the computer, but what should we do if we hope that these files will not be viewed by others? Of course, adding a password to the folder is the most direct way. Today, let’s take a look at how to set a password for a folder! A few days ago, when I was browsing the web, I found that many netizens were discussing how to encrypt folders, so I helped answer them. As the saying goes, "It is better to have fun than to have fun alone", so today I also want to share this method with everyone. The first step is to select the folder you want to encrypt, right-click it, and a menu will pop up. Step 2: Select "Properties" in the menu
 How to disable a guest account for a computer? Steps to disable a guest account
Sep 29, 2025 am 10:45 AM
How to disable a guest account for a computer? Steps to disable a guest account
Sep 29, 2025 am 10:45 AM
In order to facilitate others to use the computer, many users usually create a guest account in the system. However, in some cases, if the account is no longer needed, you can choose to disable or delete it. So how do you disable the guest account on your computer? The following is a Windows 10 system as an example to introduce the specific operation method of disabling the Guest account in detail. 1. Find the "This Computer" icon on the desktop, right-click it, and then select the "Manage" option from the pop-up menu. 2. After entering the computer management interface, you can find the item "Local Users and Groups" in the menu bar on the left and click to enter. 3. After expanding "Local Users and Groups", multiple subitems will be displayed below, including the shortcut portal "User". 4. Click "User"
 Teach you about the distinction and selection of computer solid-state drives and mechanical hard drives
Sep 29, 2025 am 10:36 AM
Teach you about the distinction and selection of computer solid-state drives and mechanical hard drives
Sep 29, 2025 am 10:36 AM
Our computers are equipped with hard disks, which are the core components of data storage and play an indispensable role in the entire machine configuration. Hard disks are also divided into different types, and the most commonly mentioned are solid-state drives and mechanical hard disks. So what is the difference between them? How should we make the right choice when installing or upgrading? Next, the editor of Black Shark will analyze in detail the difference and purchase suggestions between solid-state drives and mechanical hard drives. You will be clear after reading them! SSDs are faster to read and write. Users who have used SSDs have obvious feelings: its biggest advantage is its fast speed! Here we briefly explain the reason: the traditional hard disk we often talk about is actually a mechanical hard disk. From the name, we can see that it relies on a mechanical structure to operate. Let’s first look at its internal structure. "Circular Disc" in the picture
 How to change the default opening method of PDF files in Windows 10_How to modify the default opening method of Windows 10 PDF
Oct 11, 2025 am 11:00 AM
How to change the default opening method of PDF files in Windows 10_How to modify the default opening method of Windows 10 PDF
Oct 11, 2025 am 11:00 AM
There are three ways to change the default PDF opening method to your desired application: through File Explorer, System Settings, or Control Panel. First, you can right-click on any PDF file and select "Open with" and check "Always use this app"; secondly, enter the "Default Application" setting through [Win I] and specify a program for .pdf; you can also manually associate it through the "Default Program" function of the control panel. If it is still changed after setting it, you need to check whether the security software has reset the association, and make sure that the PDF reader's own settings have been set to default to avoid conflicts between multiple PDF software and lead to unstable association.
 What does it mean to reboot a computer?
Oct 04, 2025 am 12:04 AM
What does it mean to reboot a computer?
Oct 04, 2025 am 12:04 AM
Torebootacomputer,restartthesystemtorefreshitsstateandreloadtheoperatingsystem.Saveworkfirst,thenusetheOSmenuorpowerbutton.Rebootingappliesupdates,fixesglitches,andresolvesslowdowns.Asoftrebootclosesprocessessafely;ahardrebootforcesshutdownbyholdingt
 What should I do if the right-click menu on the Windows 8 desktop is stuck?_How to fix the stuck right-click menu on the Windows 8 desktop
Oct 11, 2025 am 10:42 AM
What should I do if the right-click menu on the Windows 8 desktop is stuck?_How to fix the stuck right-click menu on the Windows 8 desktop
Oct 11, 2025 am 10:42 AM
The right-click menu is stuck due to registry redundancy or software conflicts. It is necessary to clean up the ContextMenuHandlers items, delete non-New sub-items, use the search function to check the Directory path and delete redundant items, uninstall third-party software such as 360 or NVIDIA, and update the graphics card Bluetooth driver to solve the problem.
 How to enable computer mode UA on Wukong Browser Mobile Version_Tutorial for Switching Desktop Version of Wukong Browser Mobile Version
Sep 30, 2025 am 10:15 AM
How to enable computer mode UA on Wukong Browser Mobile Version_Tutorial for Switching Desktop Version of Wukong Browser Mobile Version
Sep 30, 2025 am 10:15 AM
First, turn on the desktop mode through the built-in menu. If it is not feasible, manually modify the UA to computer mode. Finally, you can use other browsers to access it.
 What should I do if the voice input function cannot be used in win11_How to fix the voice input function in win11 cannot be used
Oct 10, 2025 am 11:51 AM
What should I do if the voice input function cannot be used in win11_How to fix the voice input function in win11 cannot be used
Oct 10, 2025 am 11:51 AM
First, check the microphone connection and settings to ensure that the device is recognized by the system; secondly, enable microphone access in the privacy settings and allow the application to use it; then confirm that the language and regional settings are correct, and configure the matching speech recognition language; then run the audio troubleshooting tool to automatically fix the problem; finally update or reinstall the audio driver to troubleshoot the driver failure.