

How to download and install Microsoft SQL Server 2019 on Windows 11?
Apr 26, 2023 pm 08:28 PM
Microsoft SQL Server is a database management system whose primary purpose is to store and retrieve data requested by other applications, whether on the same computer or across a network. Microsoft has created multiple versions of SQL Server, each targeting different audiences and workloads.
Different versions of SQL Server can be a single computer application or a large Internet-centric application with a large number of concurrent users. SQL Server is very important to those who run businesses and organizations that undoubtedly have an Internet presence
You may be happy to know that SQL Server has a free version: Express Edition. It is the most streamlined version, but does not include limitations on the number of supported databases or users, and a core database engine. However, Express only allows the use of one processor, 1 GB of memory, and 10 GB for database storage.
Other editions include Web Edition for low-TCO web hosting, Standard Edition with some standalone services not available on Express, and Enterprise Edition that can manage databases up to 524 PB.
Is Microsoft SQL Server a required service?
Honestly, unless you are some type of developer who can write applications that work with a database, you don't need SQL Server. It has a very specific specific environment in which it will be used. It's not something you'd normally install on your workstation.
#Instead, SQL Server is installed on a server or computer that is shared by dozens or even hundreds of users for large applications. You'll often find Reddit threads or forum posts asking about the service and when it will be available. Well, it turns out that SQL Server recently became available on Windows 11.
Currently, the latest supported version is SQL Server 2019, and this tutorial will show you how to download and install SQL Server. If you decide to try out the software and you're a budding developer, it's helpful to know how to do it correctly.
Download address: https://www.microsoft.com/en-us/sql-server/sql-server-downloads
How to install SQL Server 2019?
1. Install SQL Server Express
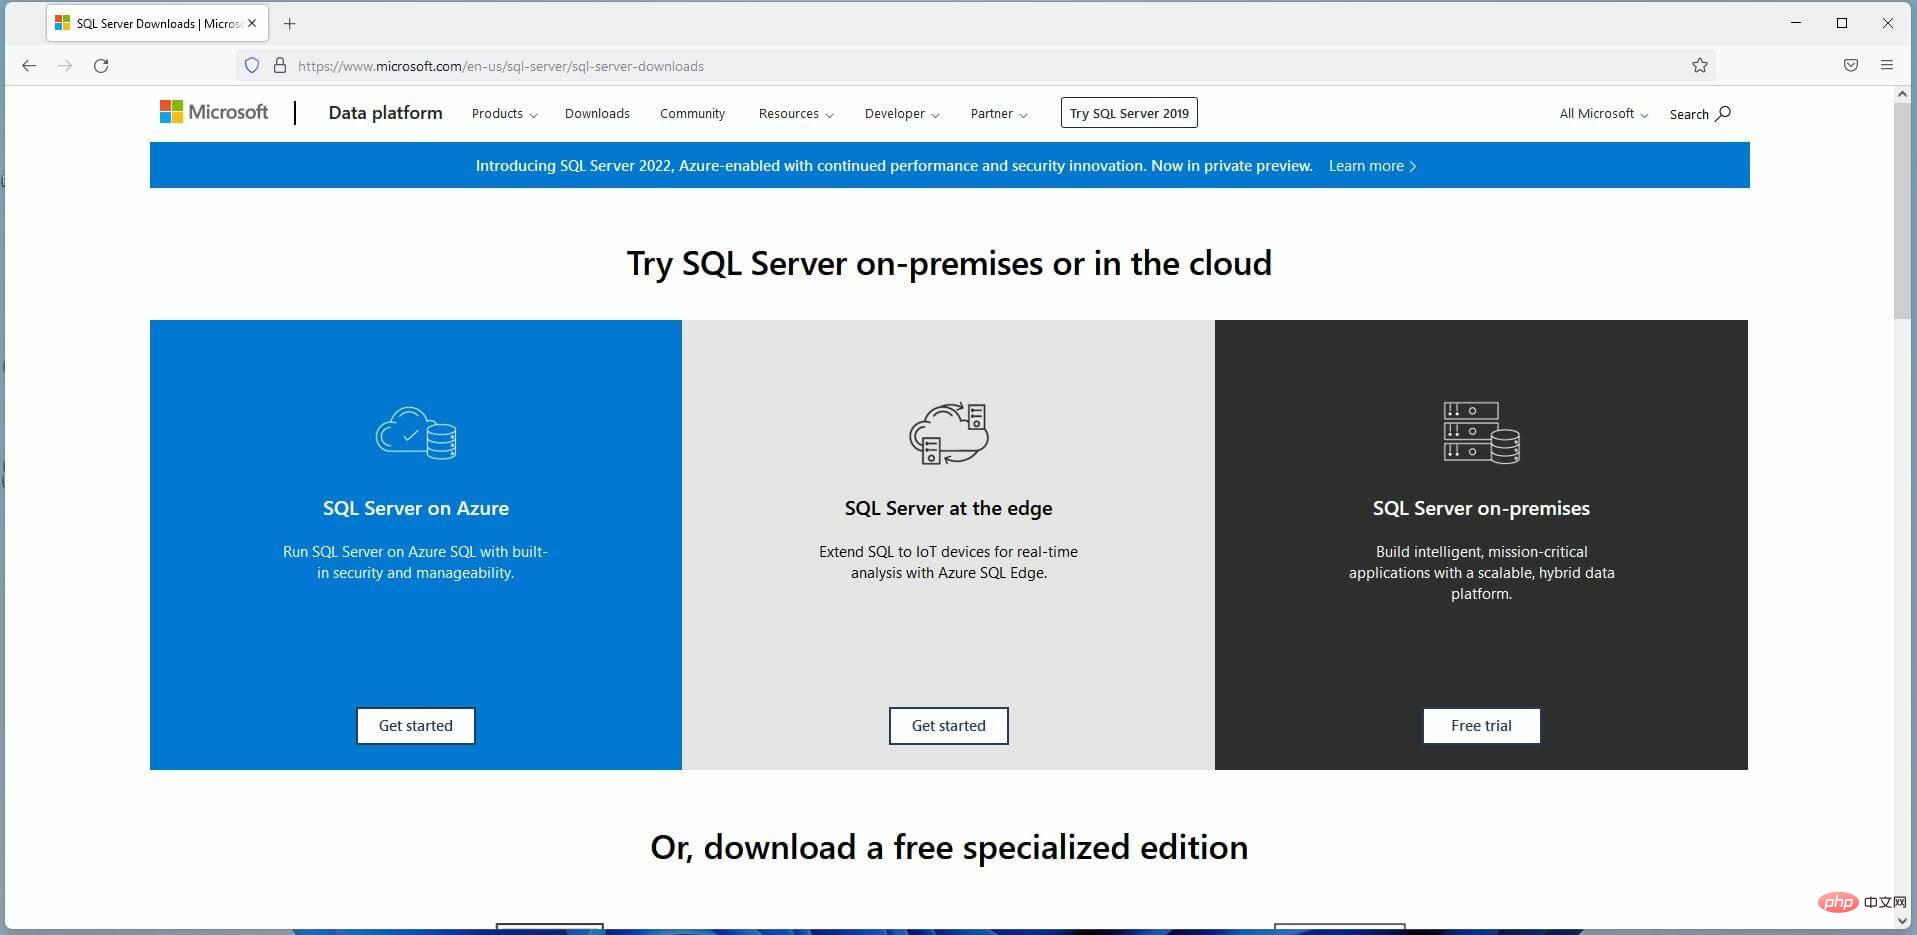
- In a web browser, search for the official Microsoft SQL Server page.

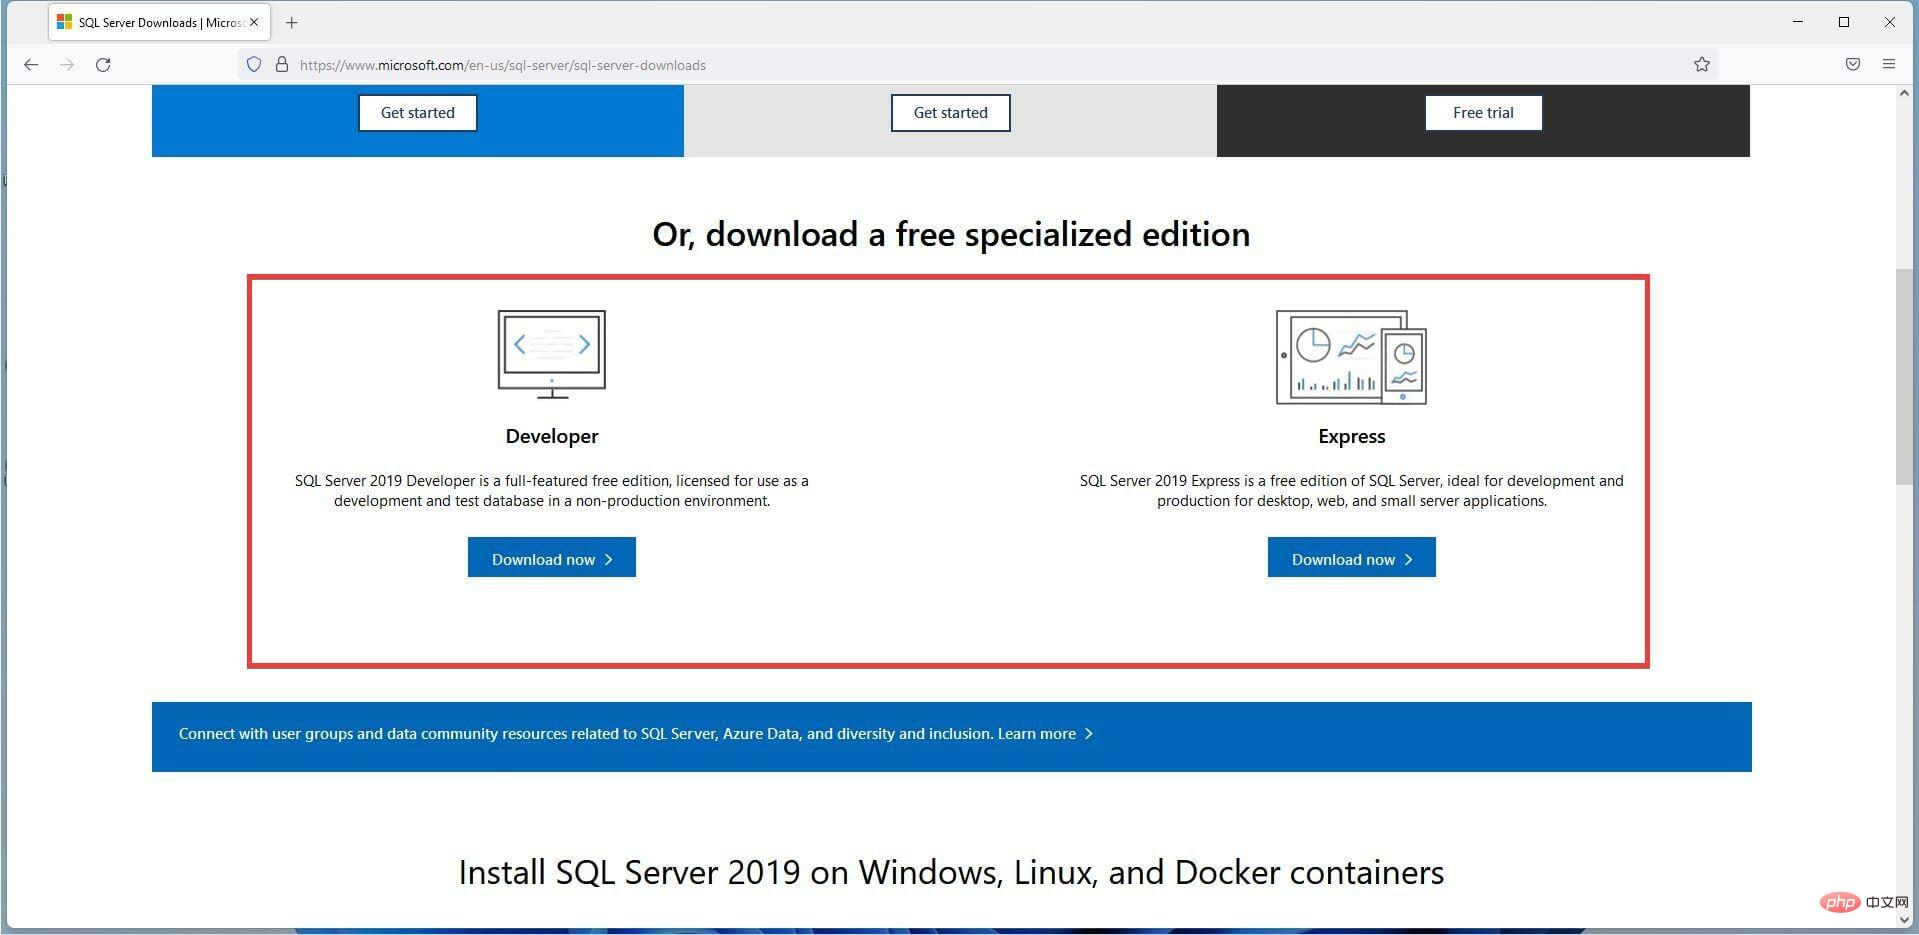
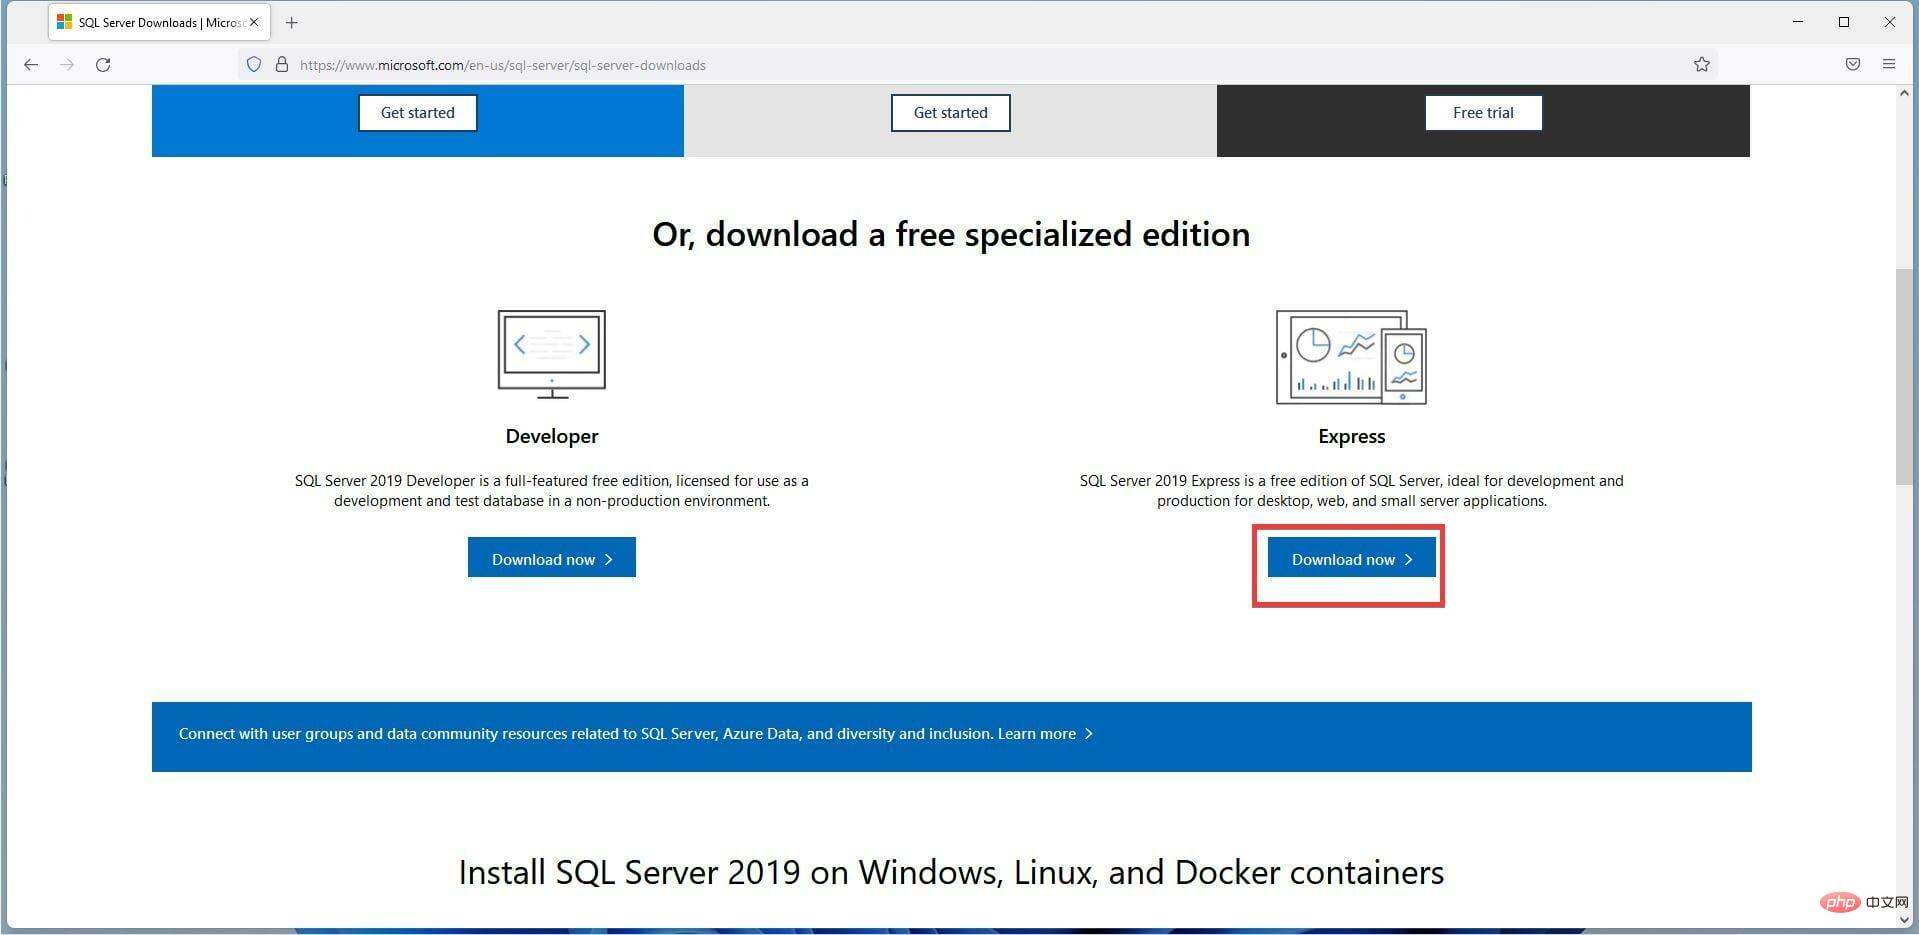
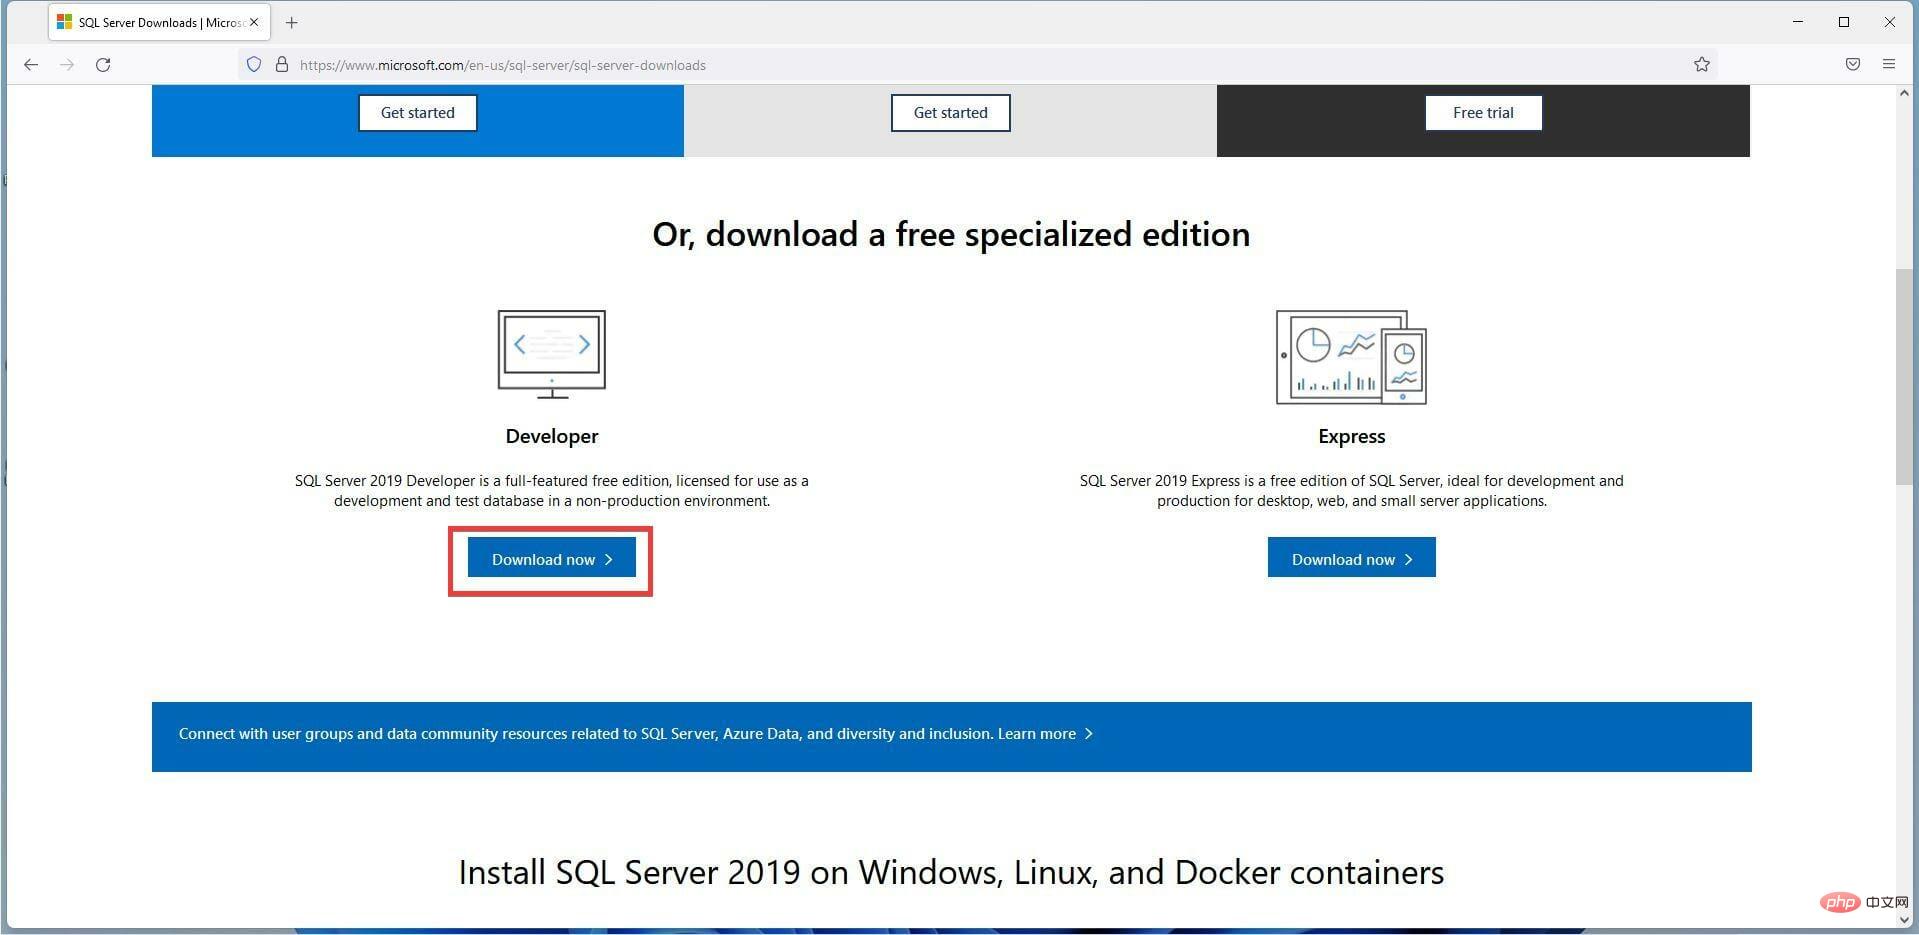
- Scroll down in this page until you find the free pro version.
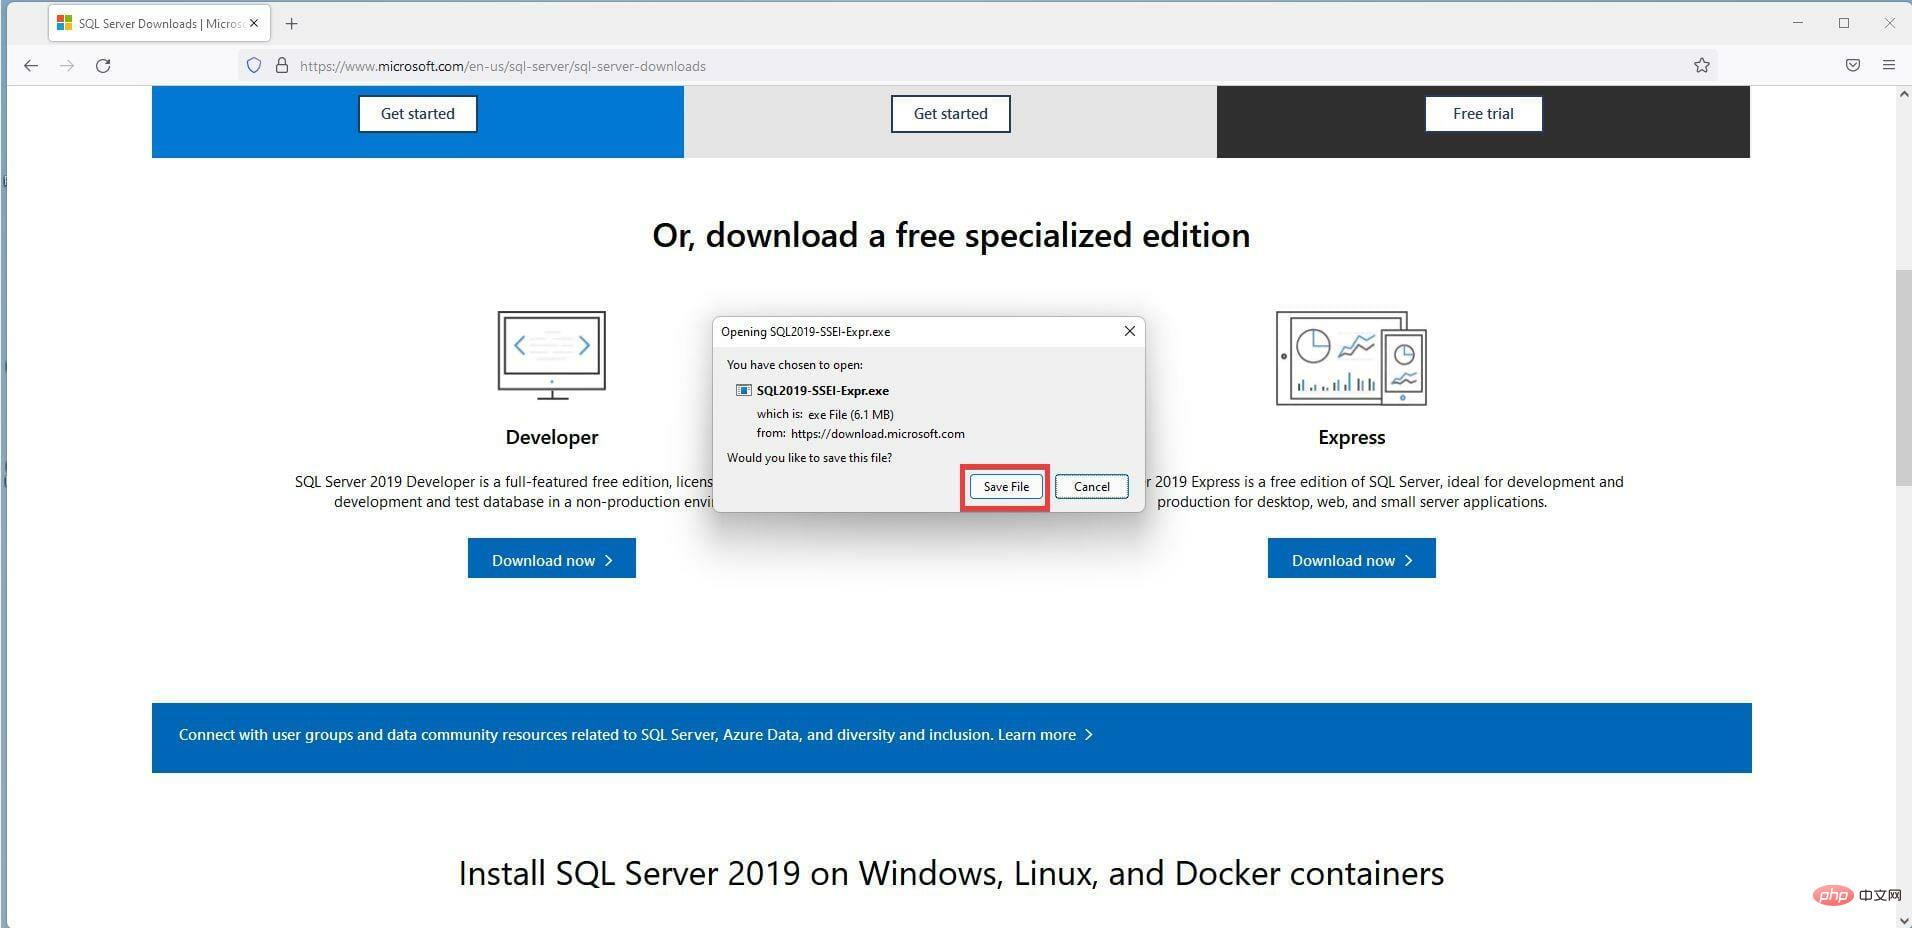
- Under Express, click Download Now.
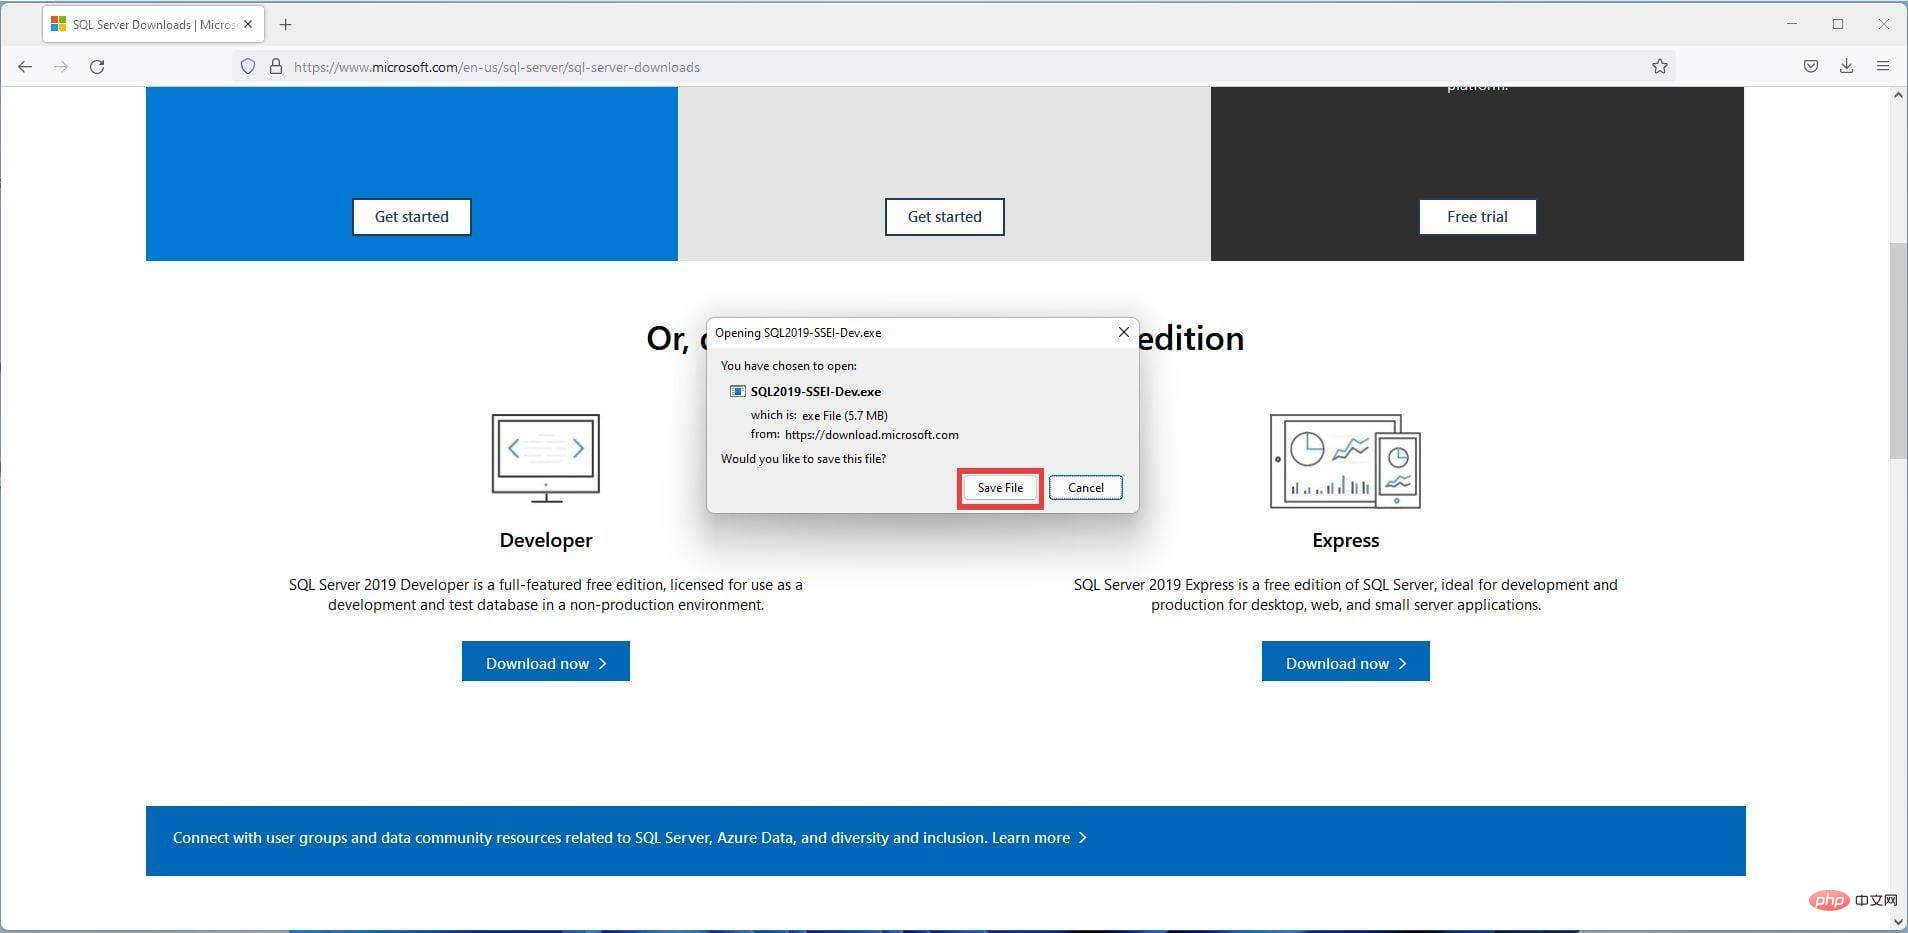
- A small window may appear. Select to save the file.
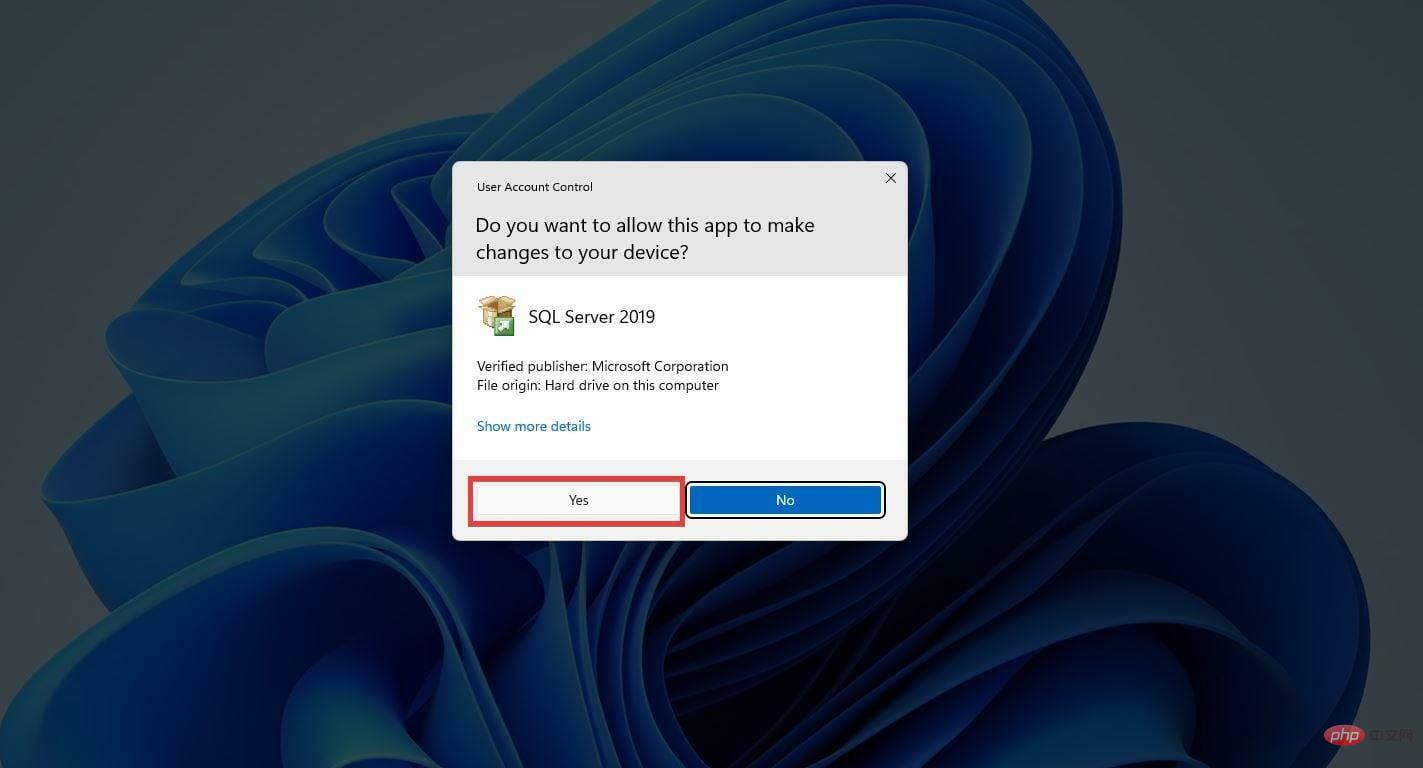
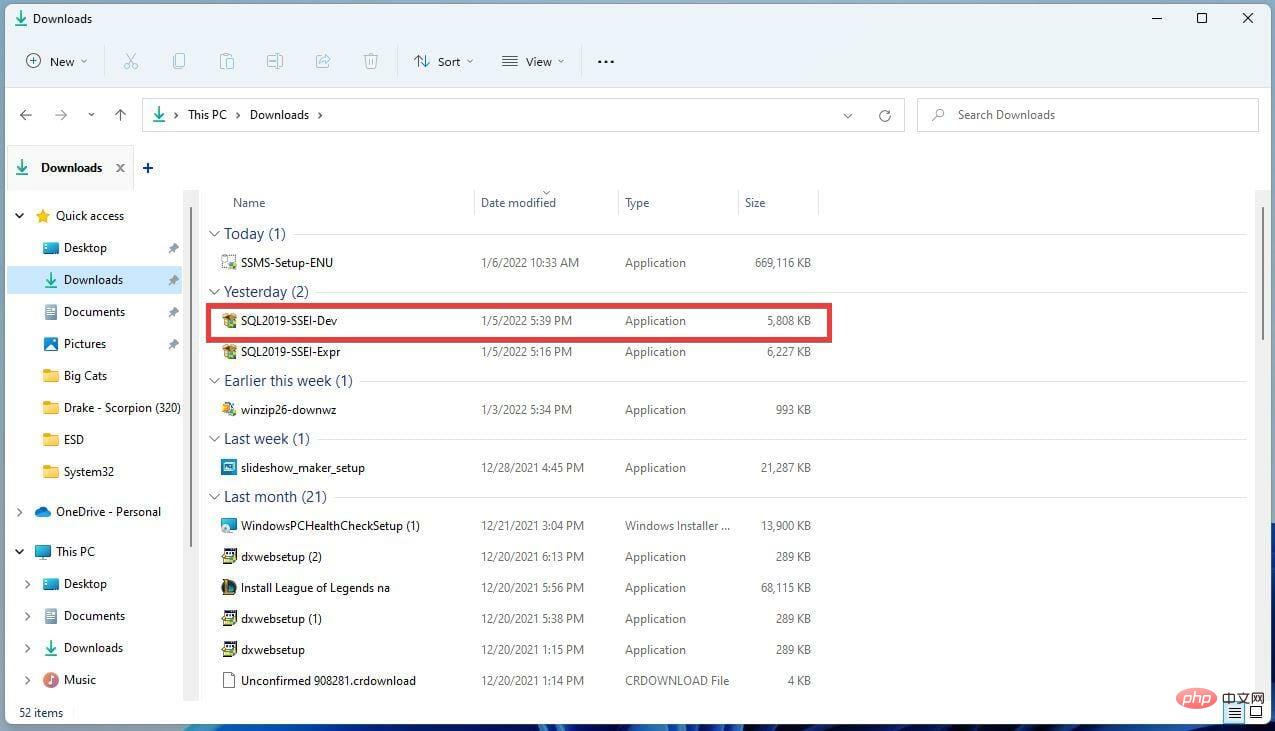
- After downloading, locate the SQL Server Express installation file and double-click it.
- If the computer asks you if you want to make changes, select Yes.
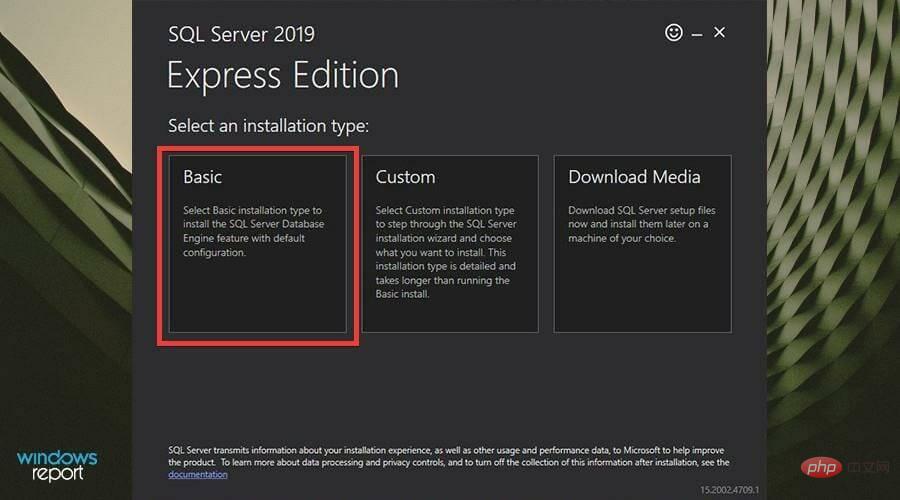
- The Express setup wizard appears. For this installation, the tutorial will select Basic, but you have the opportunity to create a custom rendition or download media for later installation.
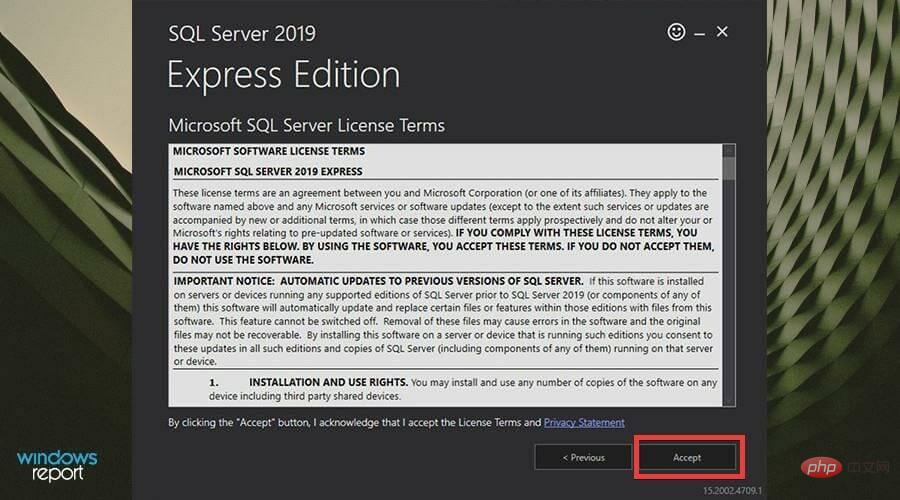
- Click Accept in the license terms.
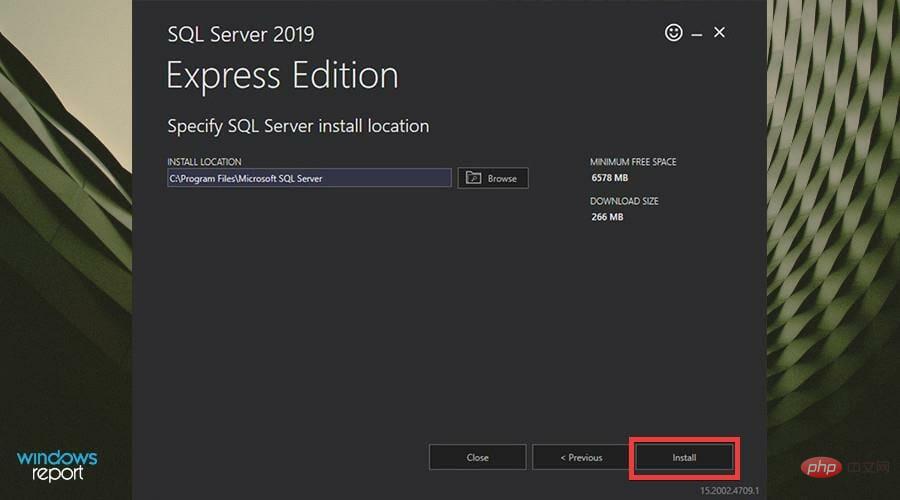
- Click "Browse" to select the location where you want the software. Otherwise, click Install.
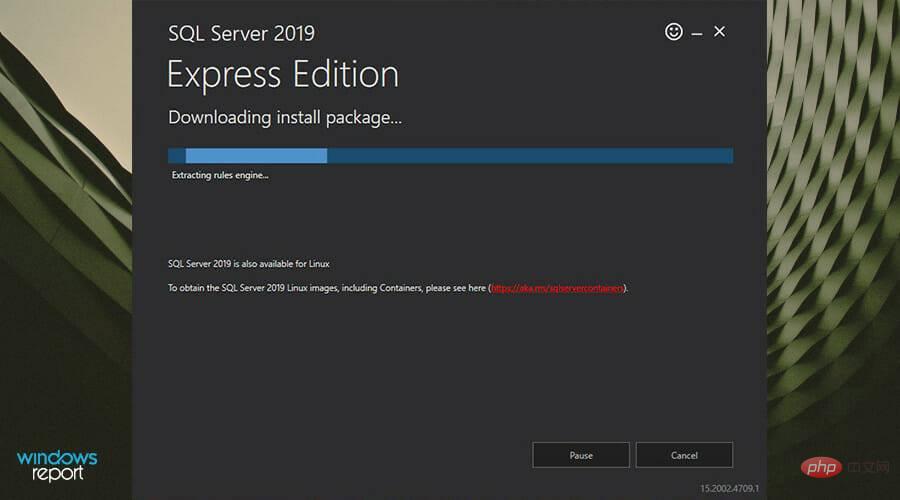
- Give the installation some time to complete.
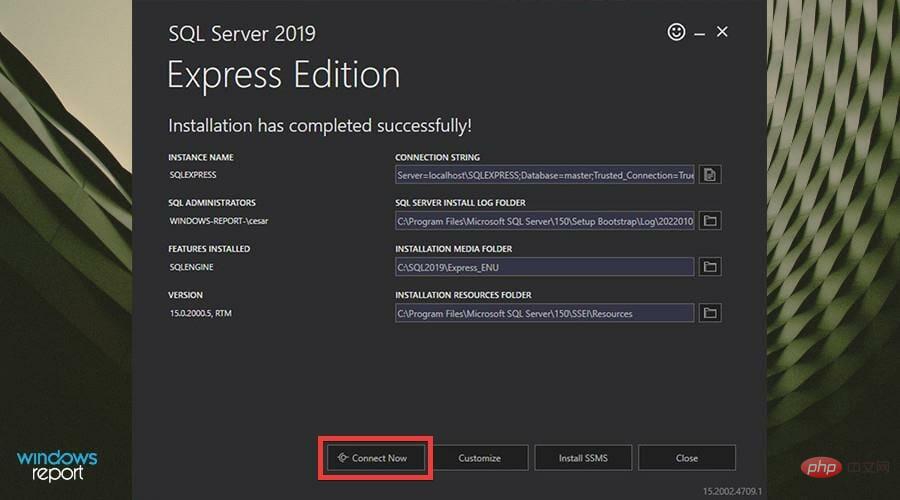
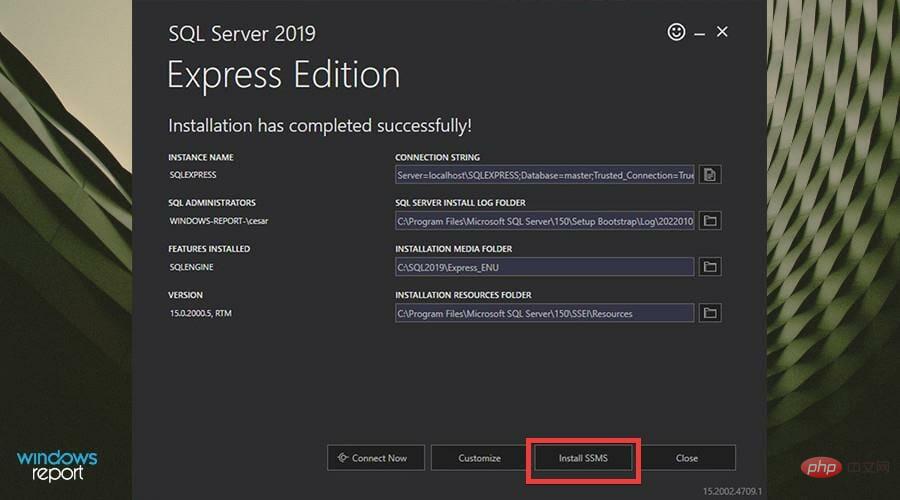
- After installation, click Connect Now.
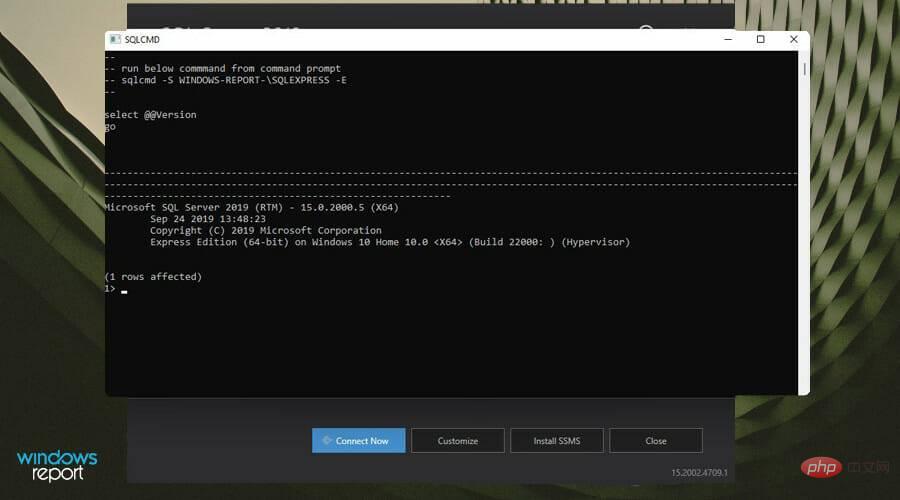
- The command prompt will appear indicating that you have successfully connected to the SQL Server application.
- After installing the Express version, click Install SSMS.

2. Install SQL Server 2021 Developer Edition
- In the Microsoft SQL Server page, select Download Now# under Developer ##. A small window may appear. Select
- to save the file. After downloading, find the SQL Server Developer file and double-click it.
- If the computer asks you if you want to make changes, select
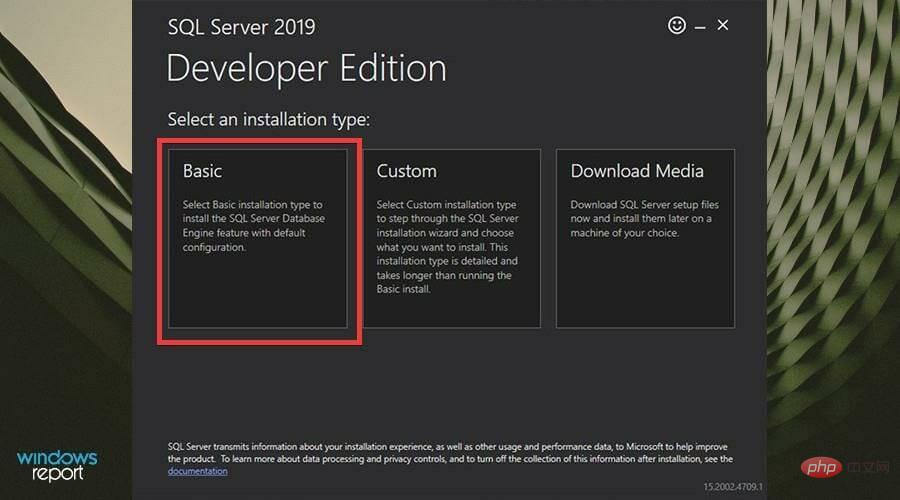
- Yes. The Developer Setup Wizard will appear. For this installation, the tutorial will select
- Basic, but you have the opportunity to create a custom rendition or simple download media for later installation. Click
- Accept in the license terms. Click "
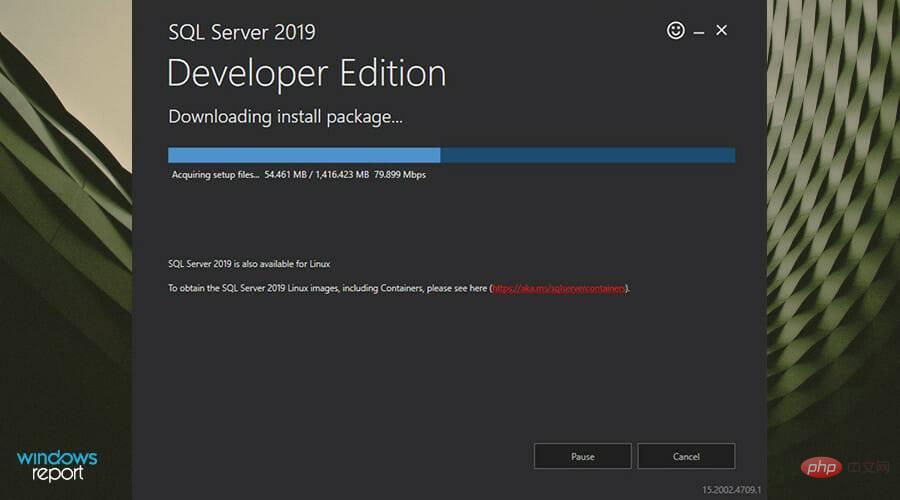
- Browse" to select the location where you want the software. Otherwise, click Install. Give the installation some time.
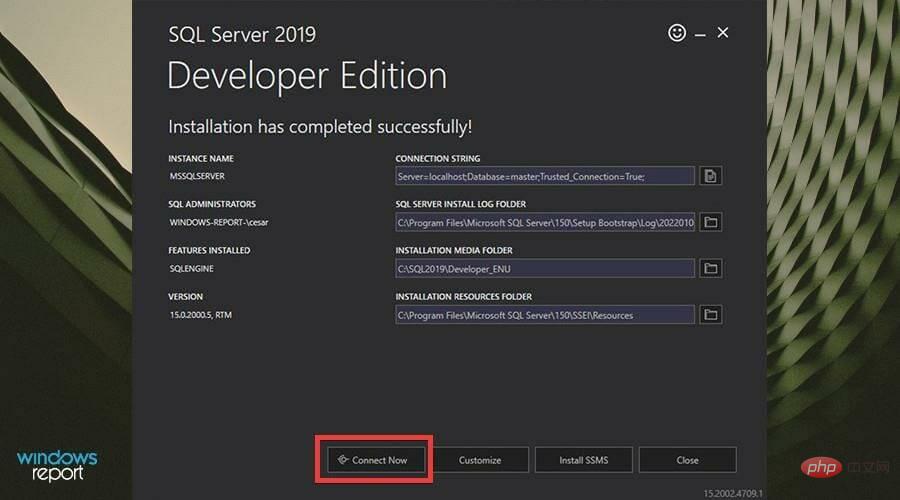
- After installation, click Connect Now.
- The command prompt will appear indicating that you have successfully connected to the SQL Server application.
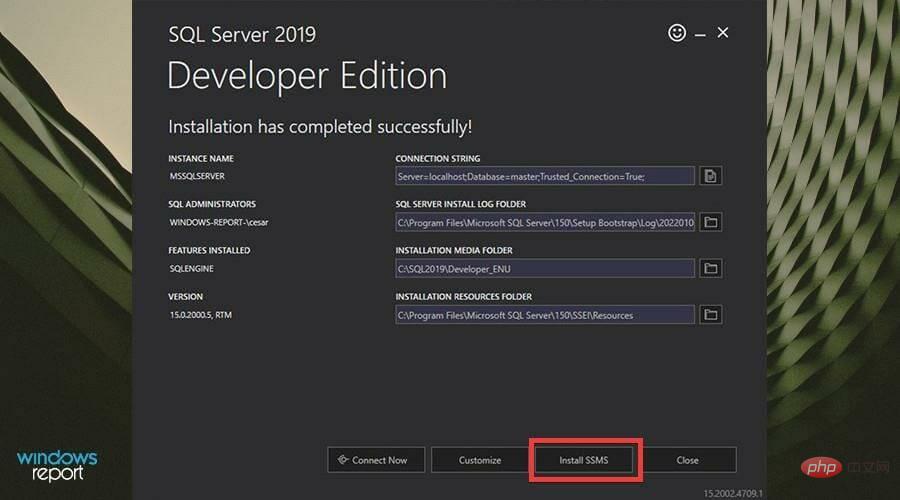
- After installing the developer version, click to install SSMS.


3. Install SQL Server Management Studio (SSMS)
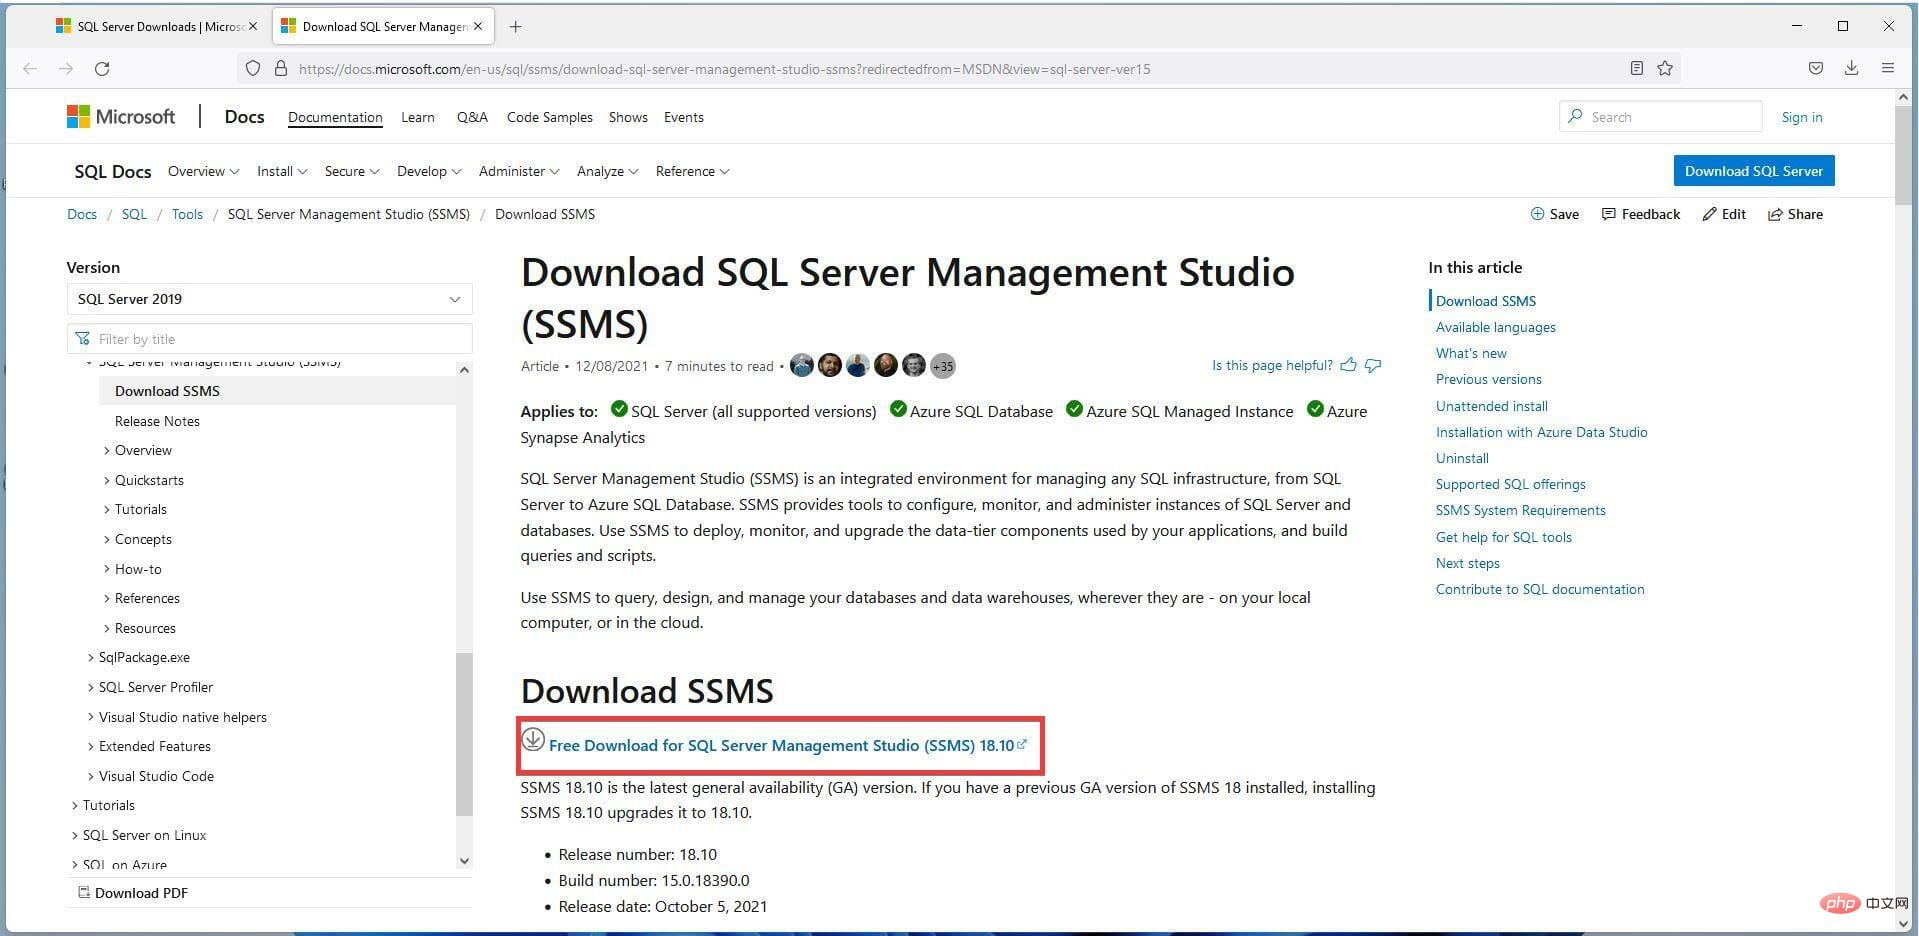
- Clicking Install SSMS will take you to the SQL Server Management Studio download page.
- Click on the SSMS download hyperlink to start the installation.
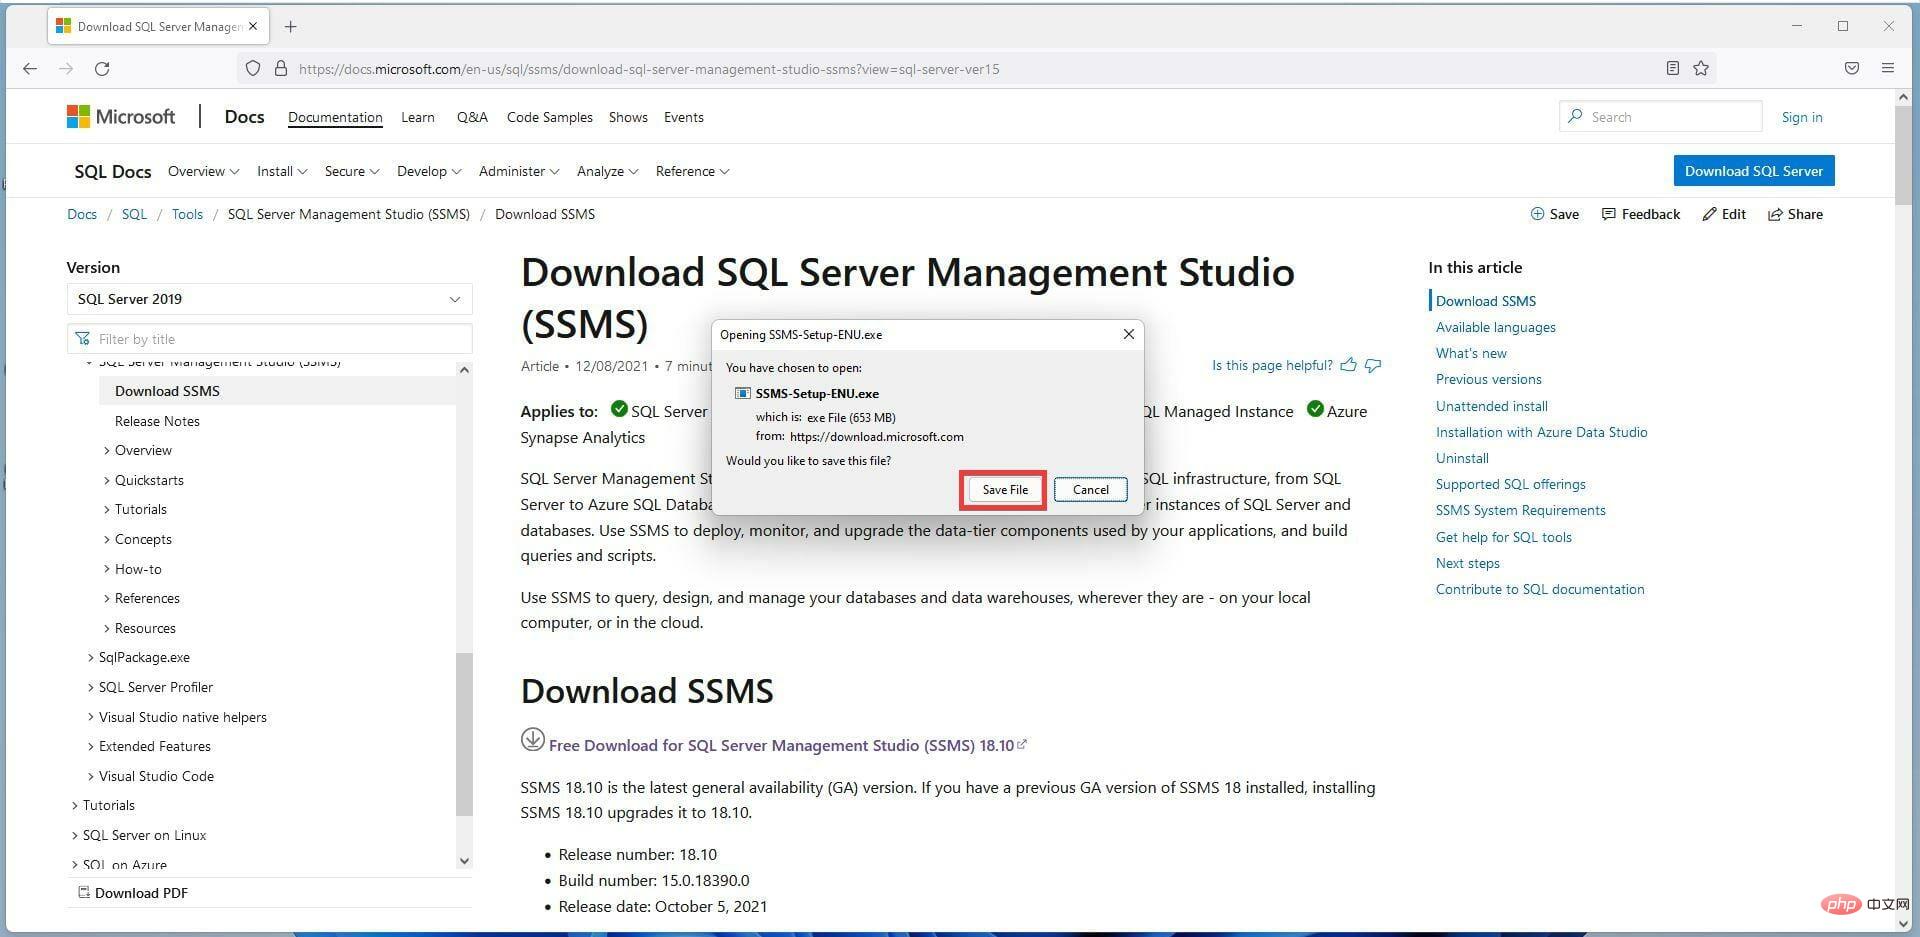
- A small window may appear. Click to save the file.
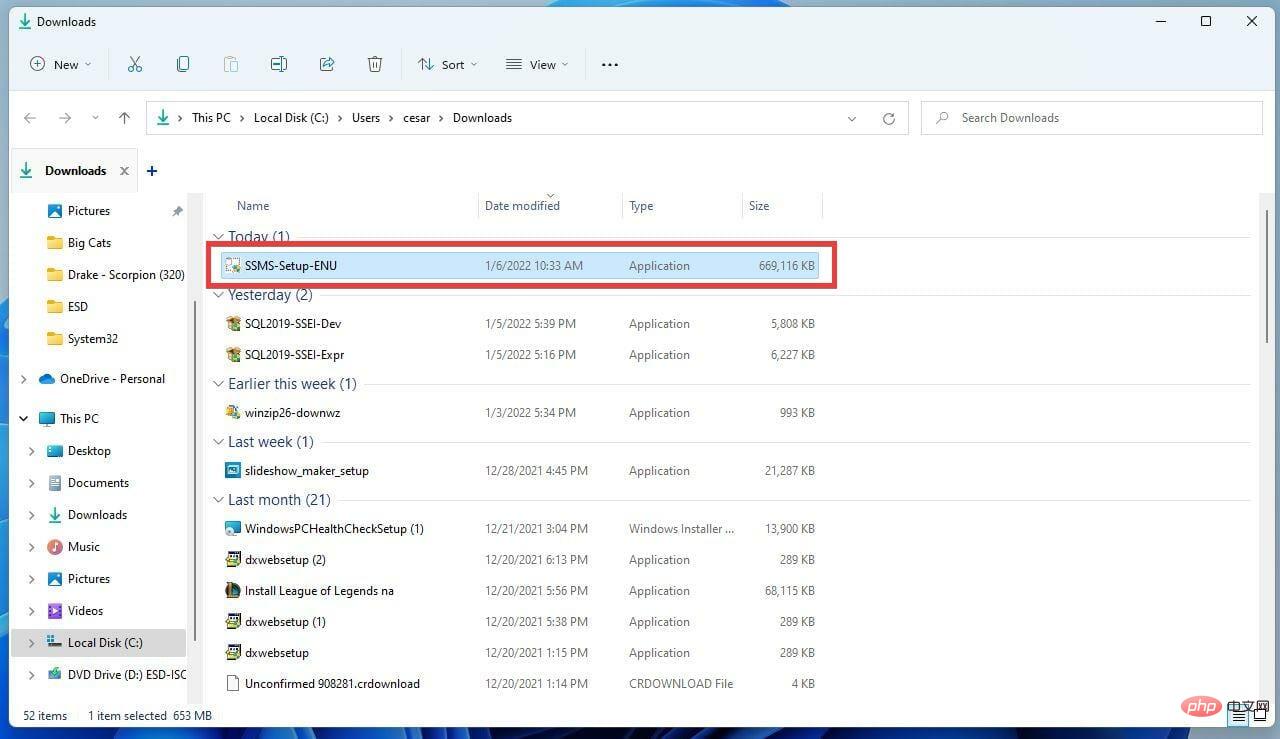
- Locate the SSMS installation file and double-click it.
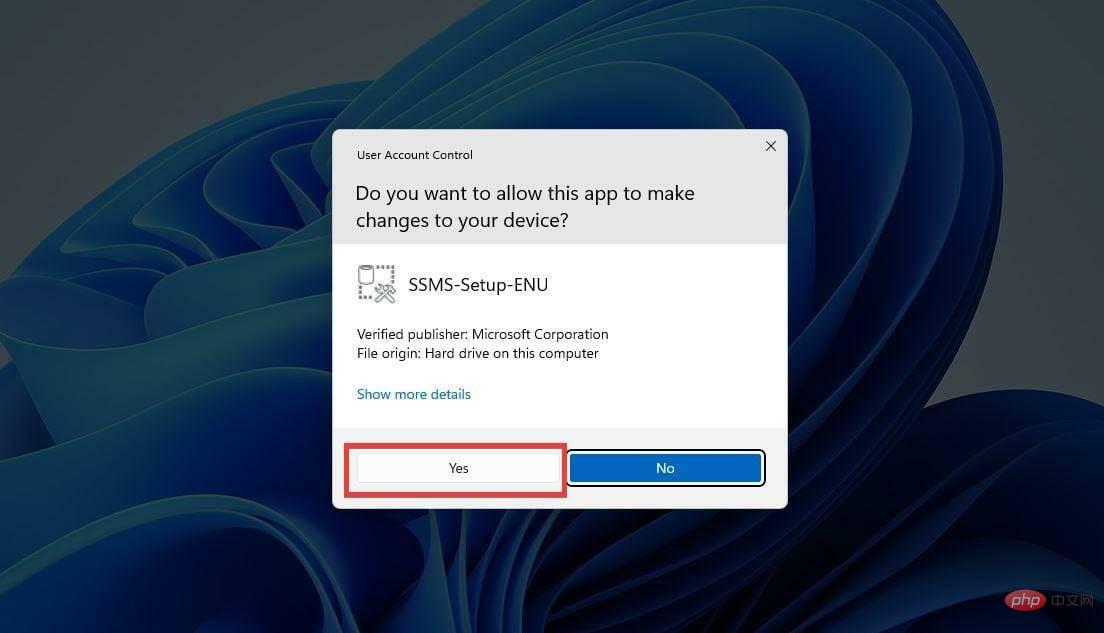
- If the computer asks you to make changes, click Yes.
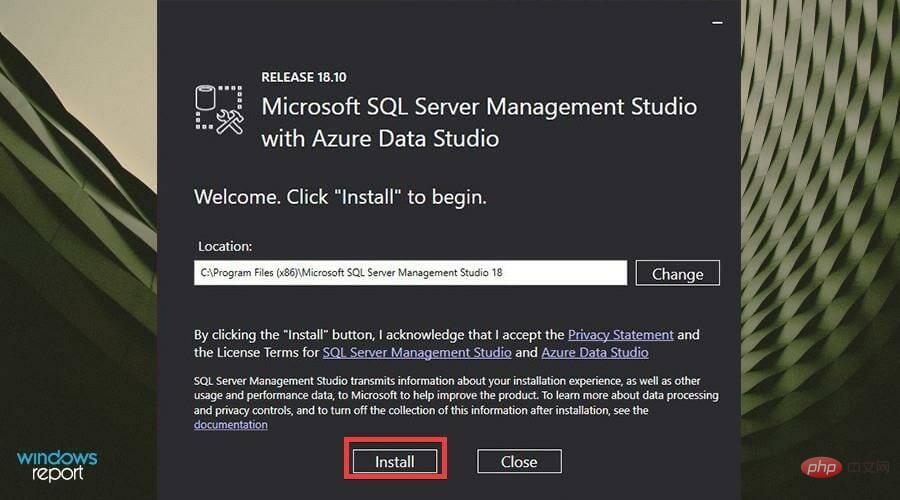
- The SSMS installation wizard will appear. You can change the location of the file by clicking Change.
- Then, click Install.
- Give the installation process some time.
- After SSMS completes the installation, click Close.
- Now you have to connect to your server.
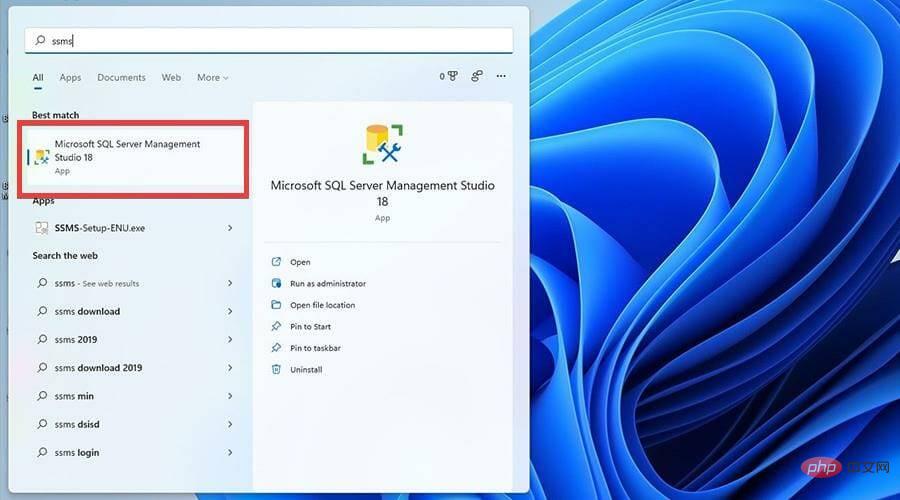
- First open the search bar.
- In the search bar, type SSMS to bring up the SQL Server Management Studio application.
- Click on the first entry you see to open the app.
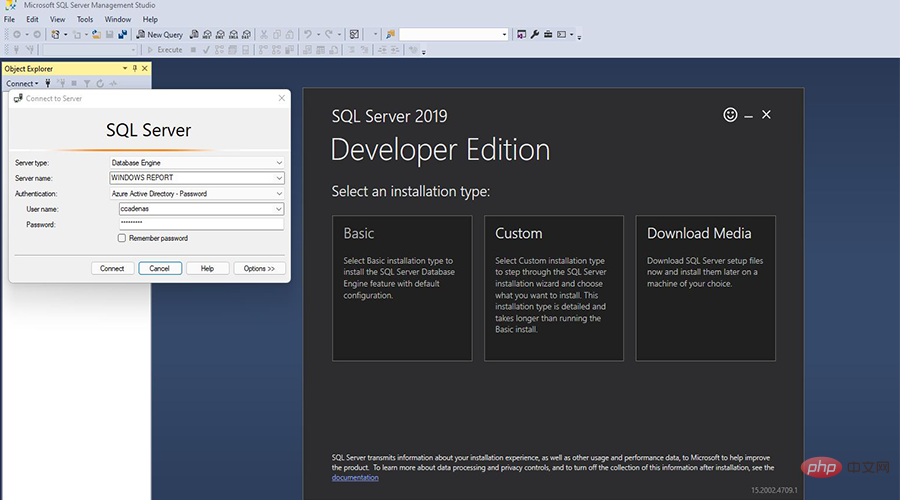
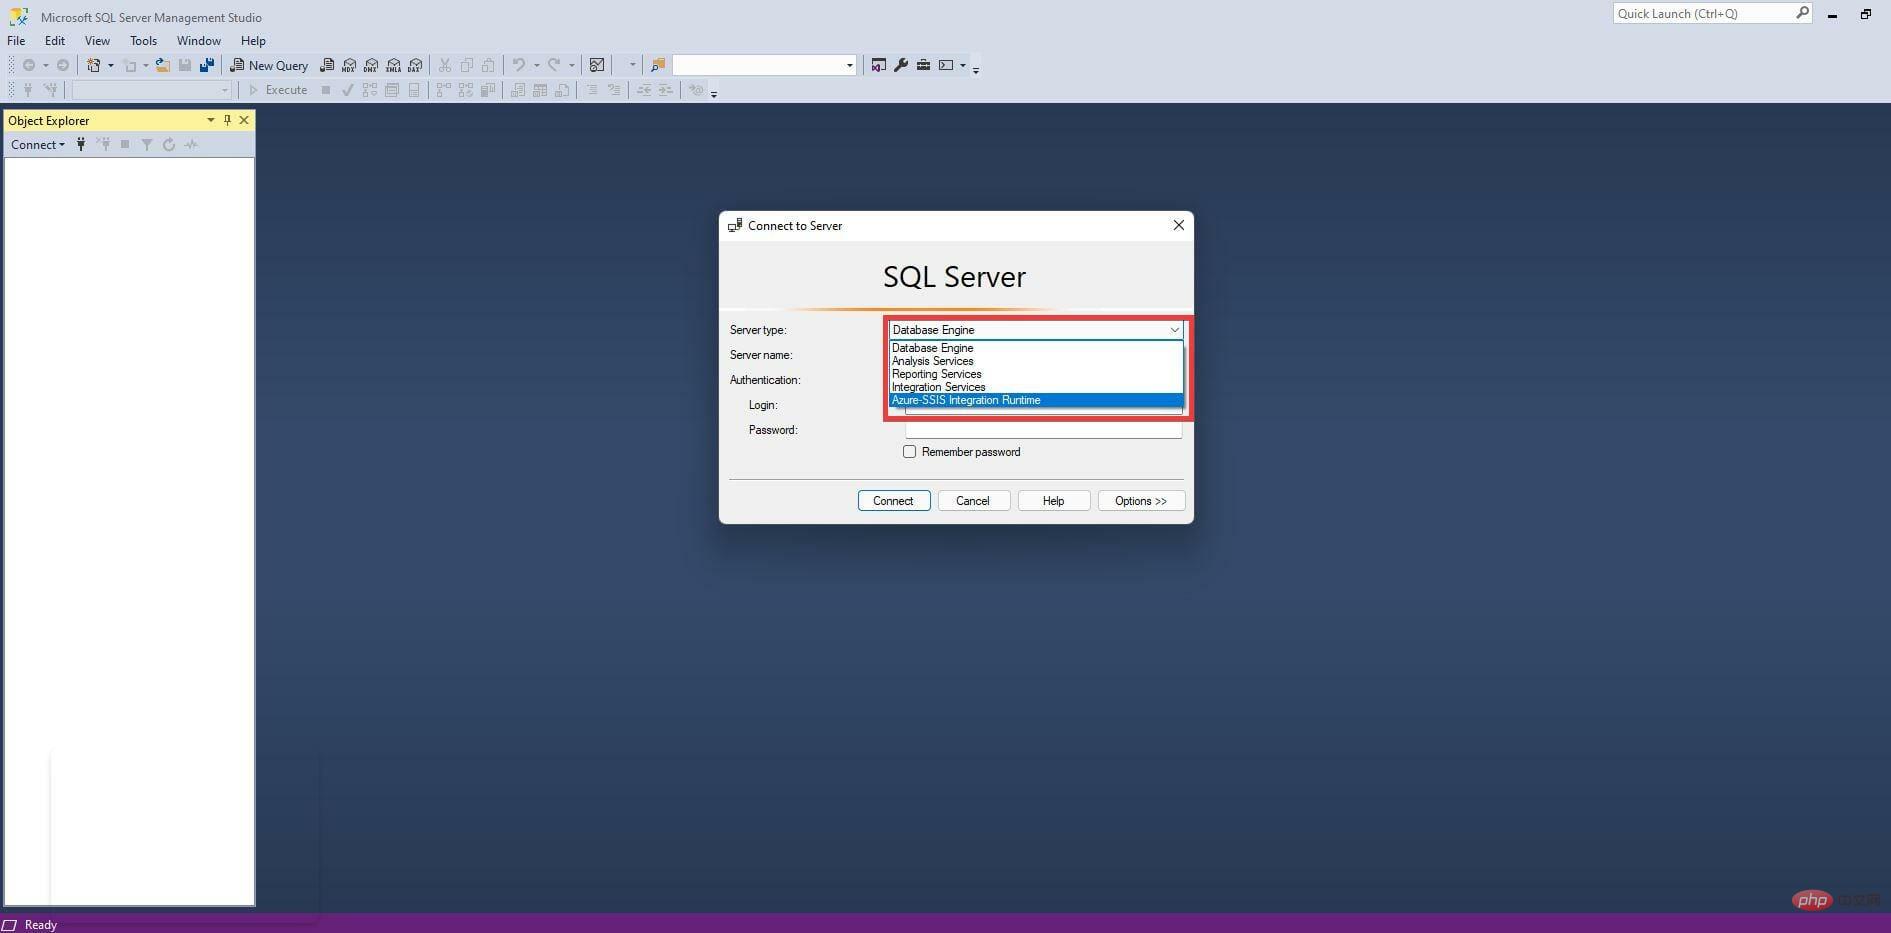
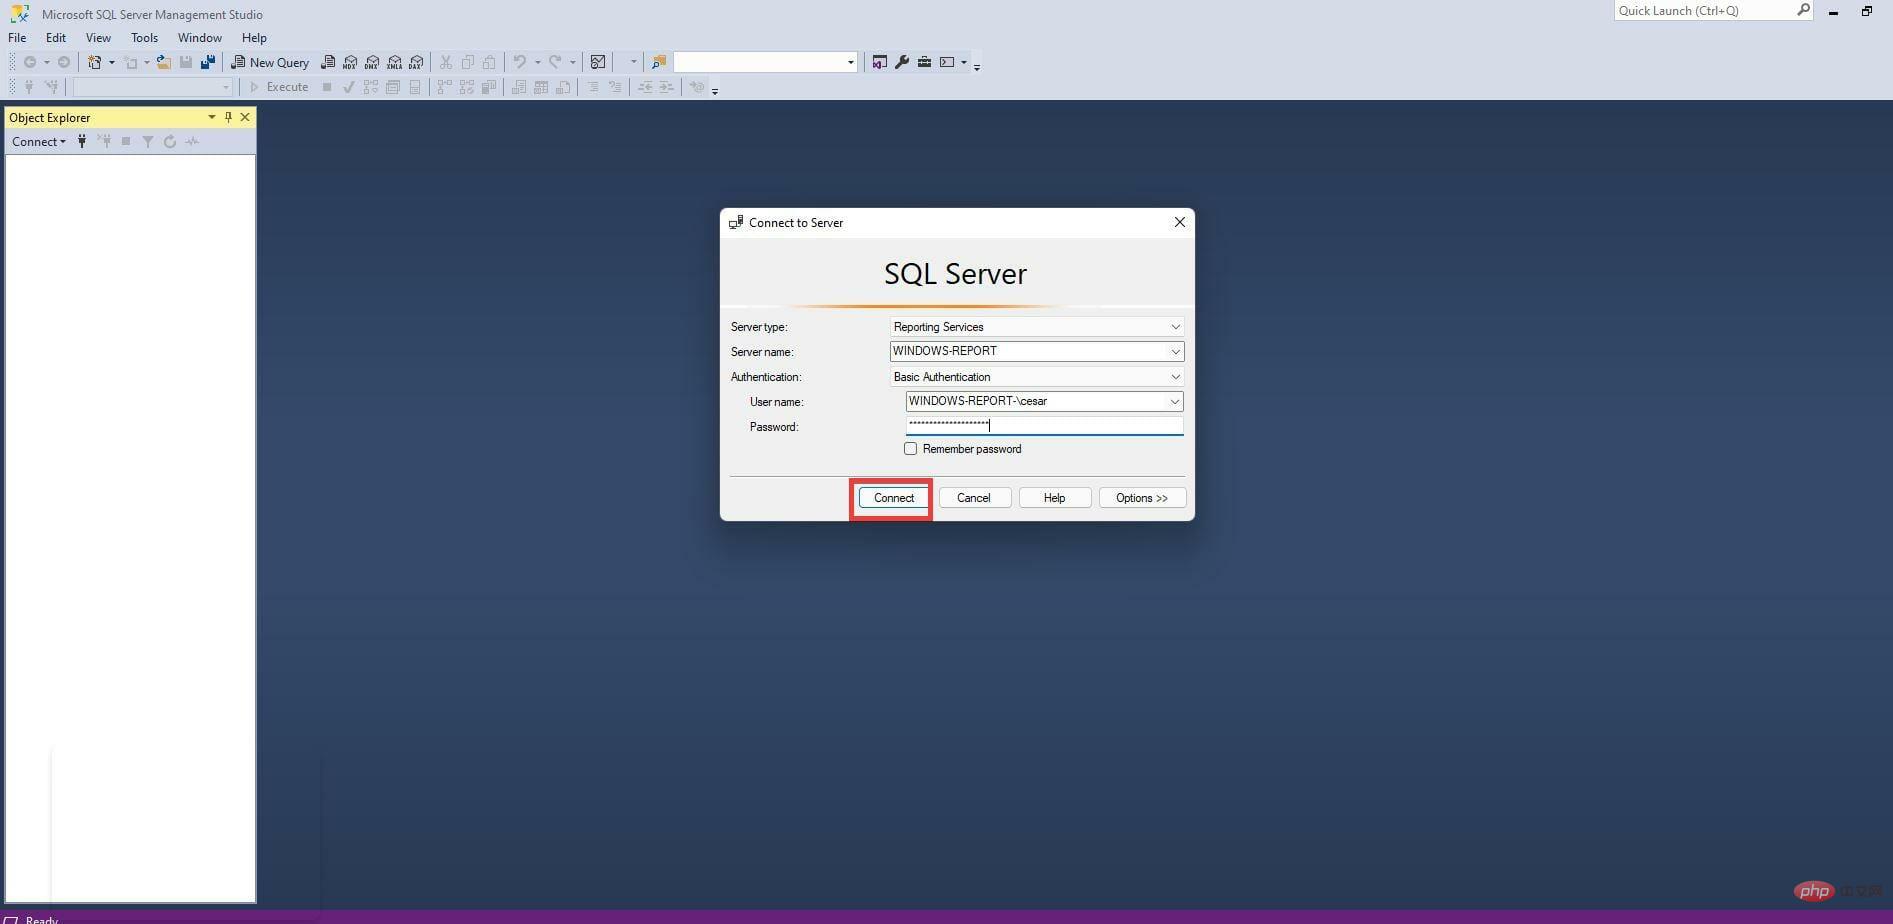
- When the SSMS application opens, you will have the opportunity to verify your connection to the server.
- In the Server Type drop-down menu, you can select the type of server you are trying to connect to.
- Then add the server name.
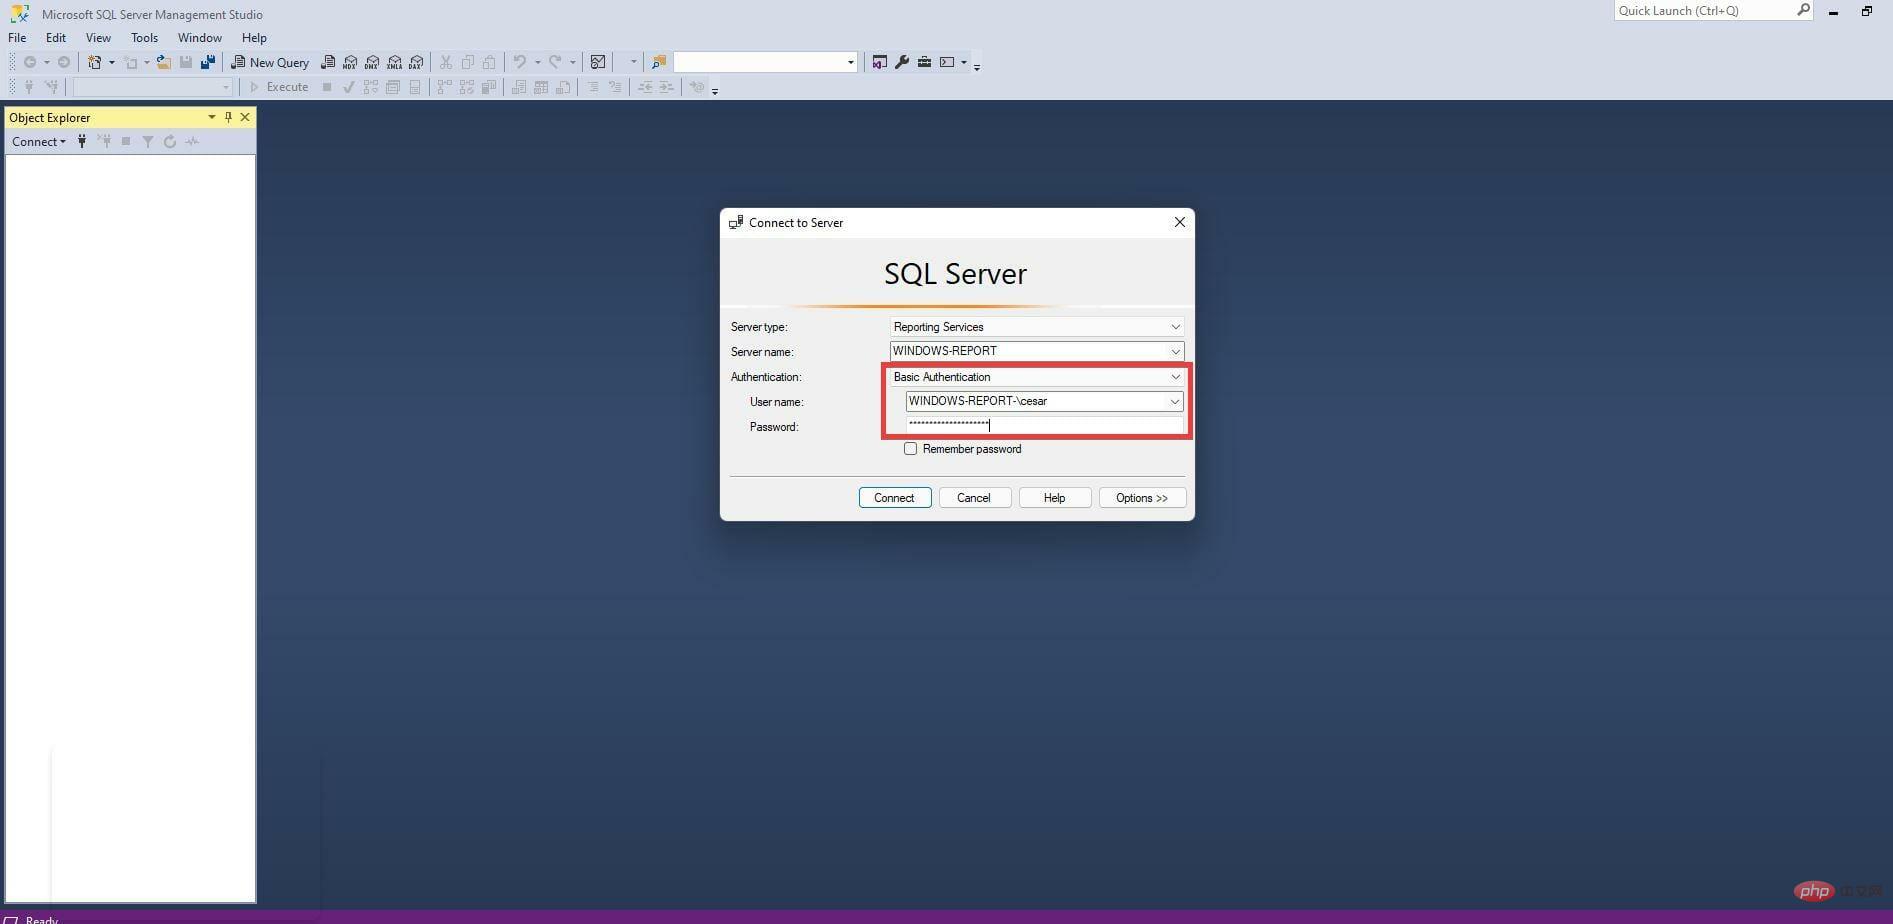
- Next choose how to verify your credentials. In this case, Basic Authentication will be selected.
- Add your username and password.
- Then click Connect to establish a connection between you and the server.
- After successful authentication, the Object Explorer on the left will be filled with database entries and other SQL objects.
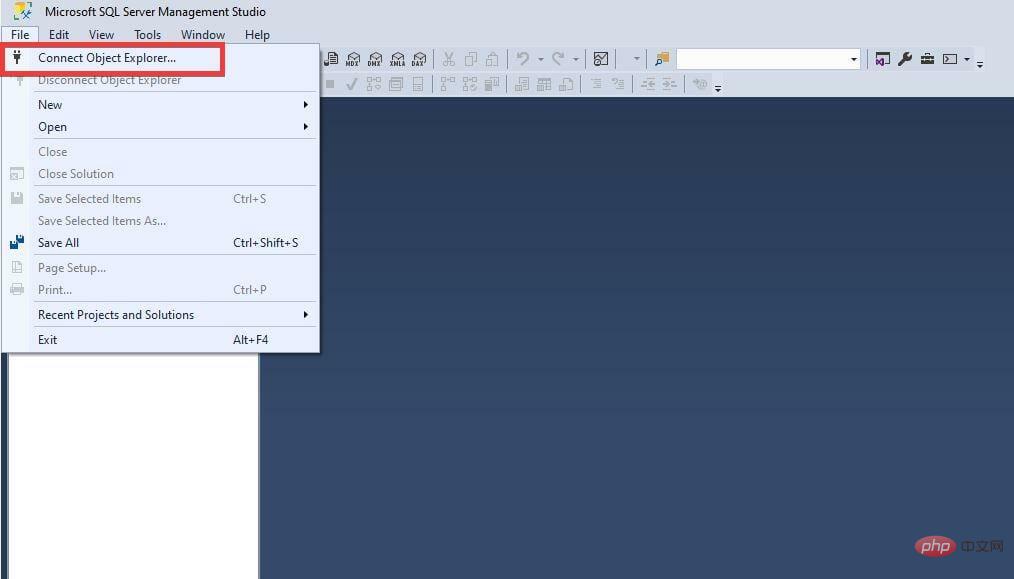
- If you want to connect to another server, click File in the upper left corner.
- In this new drop-down menu, click Connect Object Explorer. The authentication window seen previously will appear.


Are there any other useful apps or software developers should download?
A useful software addition that is highly recommended is the QT TabBar.It changes the look of File Explorer on Windows 11 and allows multiple tabs to be opened for a single window. It is useful for providing the ability to jump between different windows without having to open multiple instances.
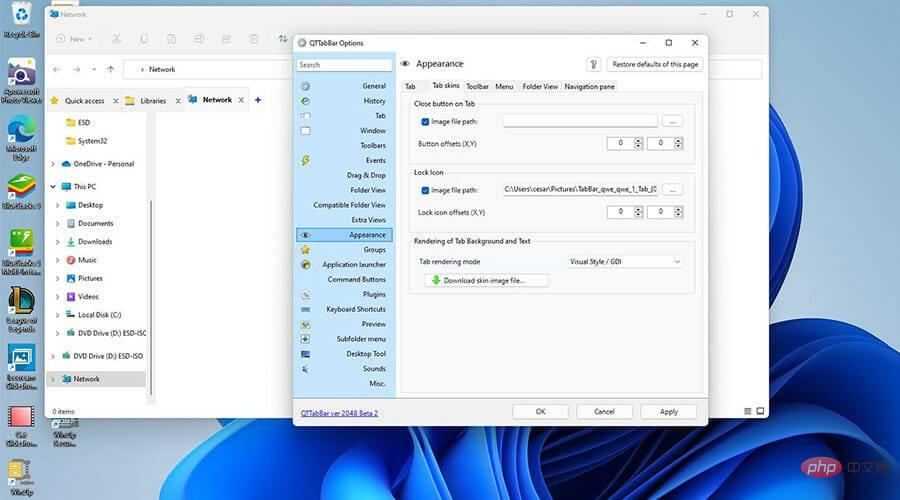
The main problem with having multiple windows open is that it can quickly tax your computer's CPU, causing performance issues and severe slowdowns. Plus, jumping from one window to another can be annoying. Save yourself a lot of problems and download QT TabBar.
The above is the detailed content of How to download and install Microsoft SQL Server 2019 on Windows 11?. For more information, please follow other related articles on the PHP Chinese website!

Hot AI Tools

Undress AI Tool
Undress images for free

Undresser.AI Undress
AI-powered app for creating realistic nude photos

AI Clothes Remover
Online AI tool for removing clothes from photos.

Clothoff.io
AI clothes remover

Video Face Swap
Swap faces in any video effortlessly with our completely free AI face swap tool!

Hot Article
Hot Tools

Notepad++7.3.1
Easy-to-use and free code editor

SublimeText3 Chinese version
Chinese version, very easy to use

Zend Studio 13.0.1
Powerful PHP integrated development environment

Dreamweaver CS6
Visual web development tools

SublimeText3 Mac version
God-level code editing software (SublimeText3)


 How to create a system restore point
Jul 07, 2025 am 12:17 AM
How to create a system restore point
Jul 07, 2025 am 12:17 AM
System restore point setting methods include manual creation, dependency automatic creation, and management of storage space. 1. Manual creation requires system protection to enable in "Create Restore Point", allocate 5% disk space and click "Create" to name the restore point; 2. The system will automatically create restore points when installing updates or changing settings, but do not guarantee comprehensiveness; 3. The restore point occupies no more than 5% of the system disk space by default, and the old version will be automatically cleaned, and storage can be managed by adjusting the upper limit.
 How to turn off wifi on my router remotely
Jul 05, 2025 am 12:28 AM
How to turn off wifi on my router remotely
Jul 05, 2025 am 12:28 AM
If you want to remotely turn off the router Wi-Fi, you must first confirm whether the router supports remote management; if it does not support it, it can be achieved through a smart socket power outage; advanced users can also consider flashing in custom firmware. The specific steps are as follows: 1. Check whether the router has remote management functions, such as the manufacturer's supporting app or cloud management functions; 2. If it is not supported, purchase and set up a smart socket and remotely cut off power through its app; 3. For technical users, you can install firmware such as DD-WRT or OpenWRT to obtain remote control permissions. Different methods have their own advantages and disadvantages. Please weigh them according to your own needs when choosing.
 What is a firewall and how does it work
Jul 08, 2025 am 12:11 AM
What is a firewall and how does it work
Jul 08, 2025 am 12:11 AM
A firewall is a network security system that monitors and controls network traffic through predefined rules to protect computers or networks from unauthorized access. Its core functions include: 1. Check the source, destination address, port and protocol of the data packet; 2. Determine whether to allow connections based on trust; 3. Block suspicious or malicious behavior; 4. Support different types such as packet filtering firewalls, status detection firewalls, application layer firewalls and next-generation firewalls; 5. Users can enable built-in firewalls through operating system settings, such as Windows Security Center or macOS system preferences; 6. The firewall should be used in combination with other security measures such as strong passwords and update software to enhance protection.
 How to fix VIDEO_TDR_FAILURE (nvlddmkm.sys)
Jul 16, 2025 am 12:08 AM
How to fix VIDEO_TDR_FAILURE (nvlddmkm.sys)
Jul 16, 2025 am 12:08 AM
When encountering the blue screen error VIDEO_TDR_FAILURE(nvlddmkm.sys), priority should be given to troubleshooting graphics card driver or hardware problems. 1. Update or rollback the graphics card driver: automatically search and update through the device manager, manually install or roll back to the old stable driver using NVIDIA official website tools; 2. Adjust the TDR mechanism: Modify the TdrDelay value in the registry to extend the system waiting time; 3. Check the graphics card hardware status: monitor the temperature, power supply, interface connection and memory module; 4. Check system interference factors: run sfc/scannow to repair system files, uninstall conflicting software, and try safe mode startup to confirm the root cause of the problem. In most cases, the driver problem is first handled. If it occurs repeatedly, it needs to be further deepened.
 How to stop a program from connecting to the internet
Jul 07, 2025 am 12:12 AM
How to stop a program from connecting to the internet
Jul 07, 2025 am 12:12 AM
To prevent specific programs from being connected to the network can be achieved through system firewalls or third-party tools. 1. Windows users can use their own firewall, create new rules in the "outbound rules" to select the program path and set "block connection"; 2. Third-party tools such as GlassWire or NetBalancer provide graphical interfaces that are more convenient to operate, but pay attention to source reliability and performance impact; 3. Mac users can control networking permissions through the command line with pfctl or using LittleSnitch and other tools; 4. A more thorough way is to use the network outage policy. The whitelisting policy prohibits all programs from being connected to the network by default and only allows trusted programs to access. Although the operation modes of different systems are different, the core logic is consistent, and attention should be paid to the details of the path and scope of the rules taking effect.
 Why do I get a User Account Control (UAC) prompt every time
Jul 13, 2025 am 12:12 AM
Why do I get a User Account Control (UAC) prompt every time
Jul 13, 2025 am 12:12 AM
UAC frequently pops up because the running program requires administrator permissions or the system setting level is too high. Common reasons include installation of software, modifying system settings, running third-party tools and other operation triggers. If using an administrator account, UAC only confirms the operation and not blocks. The methods for reducing prompts include: canceling the program to run as an administrator, lowering the UAC notification level, using a standard user account, and starting the program through the task planner. It is not recommended to turn off UAC completely because it can effectively prevent malicious programs from tampering with the system. You can set the UAC to "notify only when the program changes the computer" to balance security and experience.
 How to change your name on Facebook?
Jul 13, 2025 am 12:03 AM
How to change your name on Facebook?
Jul 13, 2025 am 12:03 AM
The Facebook name change process is simple, but you need to pay attention to the rules. First, log in to the application or web version and go to "Settings and Privacy" > "Settings" > "Personal Information" > "Name", enter a new name, and save it; secondly, you must use your real name, it cannot be modified frequently within 60 days, it cannot contain special characters or numbers, and it cannot be impersonated by others, and the review does not pass the auxiliary verification such as uploading ID cards; it usually takes effect within a few minutes to 3 working days after submission; finally, the name change will not notify friends, the homepage name will be updated simultaneously, and the old name will still be displayed in the history record.
 How to update wifi router firmware
Jul 05, 2025 am 12:24 AM
How to update wifi router firmware
Jul 05, 2025 am 12:24 AM
Updating the wireless router firmware is necessary and easy to operate. 1. Updates can fix vulnerabilities, improve performance, and add functions; 2. Check and updates can be manually operated through the management interface; 3. During updates, you need to ensure stable power supply, use wired connections, avoid interruptions, and confirm model matching; 4. Some brands support automatic updates, and update once or twice a year.