Three Ways to Fix Edge Your Connection Isn't Private
Mar 13, 2024 pm 01:30 PMphp editor Baicao brings three methods to fix "Your connection is not a private connection" in Edge browser. This error message may prevent users from continuing to access the website, but as long as you follow one of these three methods, you can quickly solve the problem and return your Edge browser to normal use.
Method 1 (simple and crude):
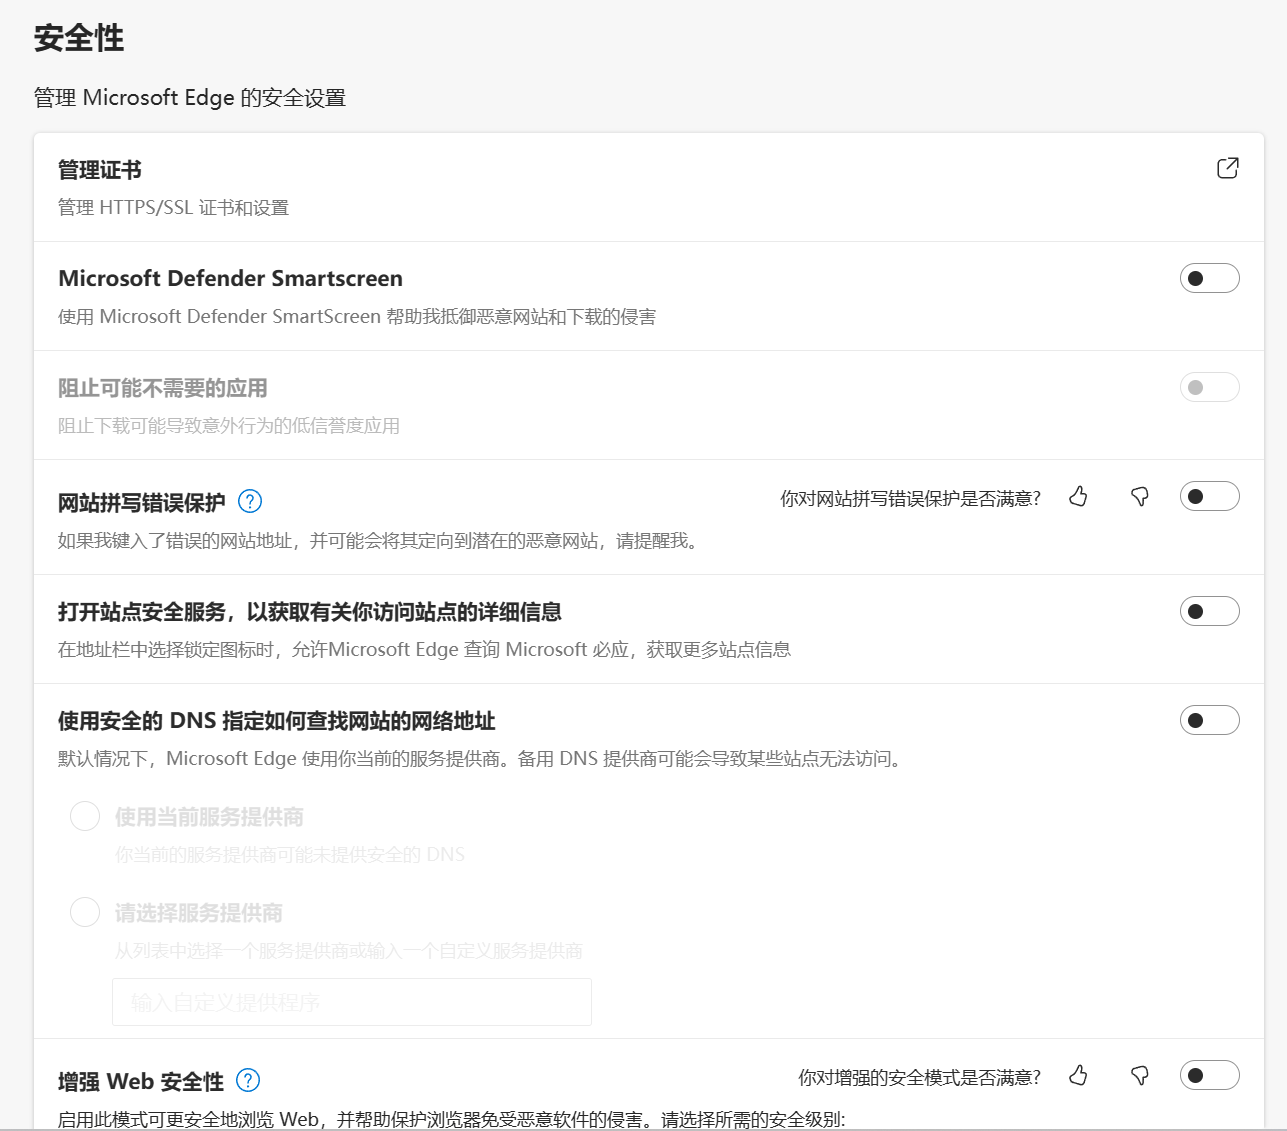
In the edge browser, you can try to solve the problem that the website that originally reported the error cannot be accessed by entering the settings and turning off the security function, and then blocking location permissions in the website permissions. It is important to note that the effectiveness and duration of this approach may vary, and specific effects cannot be determined. After restarting your browser, you can try visiting the website to see if the issue is resolved.

Method Two:
Adjust the keyboard to English input state, refresh the page, click anywhere on the current page with the mouse, and then press the keys in sequence: thisisunsafe
After pressing the above button, the page will automatically refresh, and then you can access it normally.
Method 3:
Open the browser on your computer.

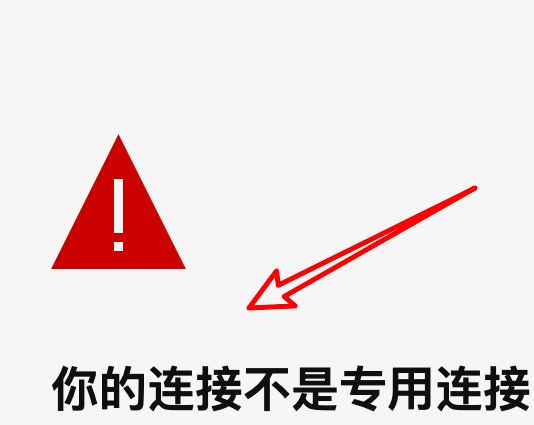
When opening a website, an error message "Your connection is not a dedicated connection" is displayed, and the website cannot be entered.

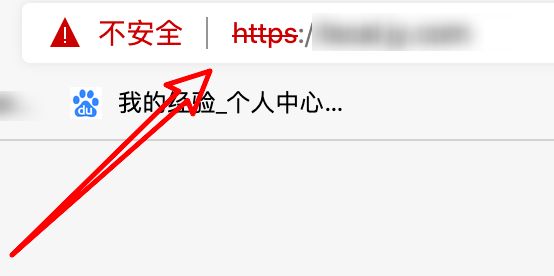
We found that the URL of the address above is in red, indicating that it is unsafe. In fact, this is caused by a problem with the certificate of the https website you are visiting.

If you are confident that the website you are visiting is a safe website, we can click the Advanced button at the bottom of the page.

Then click here to continue accessing the link.

After clicking, the page can be opened normally. Although the address bar still displays red, it does not affect the opening of the page.

The above is the detailed content of Three Ways to Fix Edge Your Connection Isn't Private. For more information, please follow other related articles on the PHP Chinese website!

Hot AI Tools

Undress AI Tool
Undress images for free

Undresser.AI Undress
AI-powered app for creating realistic nude photos

AI Clothes Remover
Online AI tool for removing clothes from photos.

Clothoff.io
AI clothes remover

Video Face Swap
Swap faces in any video effortlessly with our completely free AI face swap tool!

Hot Article

Hot Tools

Notepad++7.3.1
Easy-to-use and free code editor

SublimeText3 Chinese version
Chinese version, very easy to use

Zend Studio 13.0.1
Powerful PHP integrated development environment

Dreamweaver CS6
Visual web development tools

SublimeText3 Mac version
God-level code editing software (SublimeText3)

Hot Topics
 How to enable microphone permission in Edge browser How to enable microphone permission
May 09, 2024 pm 04:40 PM
1. First, click Start, right-click and select [Microsoft Edge]. 2. Then, click [More] to open [App Settings]. 3. Next, find and enter [Application Permissions]. 4. Then, find [Microphone] in the permissions below. 5. Finally, turn on the switch behind the microphone.
 How to open the edge bar in Microsoft Edge browser Microsoft Edge browser open edge bar tutorial
May 09, 2024 pm 04:22 PM
Step 1: First double-click to open the [Microsoft edge] browser (as shown in the picture). Step 2: Click the three-dot button (as shown in the picture). Step 3: Click [Settings] (as shown in the picture). Step 4: Click [edge bar] (as shown in the picture). Step 5: Click the [Open edge bar] button (as shown in the picture). Step 6: Open the edge bar in Microsoft edge browser and complete (as shown in the picture).
 How to close background applications in Microsoft edge browser_How to close background applications in Microsoft edge browser
May 09, 2024 pm 07:16 PM
1. First open the Microsoft edge browser installed on your computer. 2. Then open the Microsoft edge browser and click [...] in the upper right corner. 3. In the drop-down box that pops up, click the [Settings] button. 4. Then we enter the setting interface of the Microsoft edge browser and click [System]. 5. Finally, we look at the right side of the screen and close [Continue background applications after closing Microsoft Edge] on the right.
 What should I do if the picture in Edge browser is not displayed? How to solve the problem of picture not being displayed in Edge browser?
May 09, 2024 pm 07:22 PM
1. First, click Start in the lower left corner and right-click [Microsoft Edge]. 2. Then, select [More] and click [App Settings]. 3. Then, scroll down to find [Pictures]. 4. Finally, turn on the switch below the picture. The editor has shared the solution to the problem that Edge browser pictures are not displayed here. Friends who encounter the same situation can take a look.
 How to solve the problem that the web page pops up automatically when the Microsoft Edge browser starts up_How to solve the problem when the web page pops up automatically when the Microsoft Edge browser starts up
May 09, 2024 pm 04:10 PM
1. Click to open the edge browser, left-click the three-dot icon in the upper right corner, and then select the [Settings] option to enter, as shown in the figure below. 2. After entering the page, click [Cookies and Website Permissions] in the left navigation bar to open it, as shown in the figure below. 3. Then, we slide the mouse wheel to the page on the right, find the [Pop-up windows and redirection] option and click to enter, as shown in the figure below. 4. After entering, we click the [Switch] button behind the [Block] function to turn it on, as shown in the figure below. 5. In addition, we can also click the [Add] button after [Block], and then add the URLs that do not allow pop-up windows to the box, then the URL-related information we add will not
 Microsoft Edge browser updated to version 127.0.2651.105 to fix crash issue when uploading documents
Aug 16, 2024 pm 08:03 PM
According to news from this site on August 16, Microsoft released the 127.0.2651.105 version update of the Microsoft Edge browser to the stable channel. This update mainly includes two important changes. The first is to fix the problem of browser crash when uploading documents on some websites (the browser will display the error code STATUS_BREAKPOINT), and the second is to fix the Microsoft Edge-specific vulnerability under CVE-2024-43472. Since the Microsoft Security Response Center website is currently in error 404 status, this site has not yet found detailed information about CVE-2024-43472. The latest data from Statcounter shows that Microsoft Edge is on the desktop
 Why does a specific div element in the Edge browser not display? How to solve this problem?
Apr 05, 2025 pm 08:21 PM
How to solve the display problem caused by user agent style sheets? When using the Edge browser, a div element in the project cannot be displayed. After checking, I posted...
 How to set up private browsing mode in Microsoft Edge browser_How to set up incognito browsing mode in Microsoft Edge browser
May 09, 2024 pm 03:46 PM
Step 1: Double-click to open the Microsoft Edge browser, click More Actions in the upper right corner, and the three dots to the right of the account avatar, as shown in the figure below. Step 2: Click to create a new InPrivate window, or directly use the shortcut key Ctrl+Shift+N, as shown in the figure below. Step 3: Then you will enter a new tab page, and you can directly enter the URL you want to browse or search content. The content browsed on this page will not be recorded by the browser, as shown in the figure below.


