Linr PS toolkit (Photoshop developer auxiliary tool)
One-click map: quickly output the selection to the format used by the Web; if the current layer is locked, only the current selection of the current layer will be output;
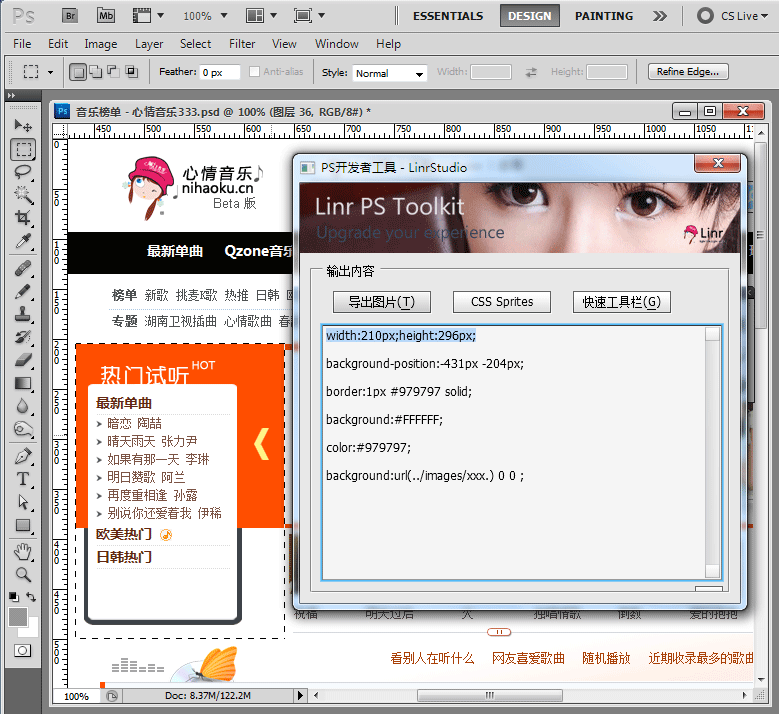
Quickly obtain information: quickly obtain the size of the image selection (if there is no selection, obtain the full size of the image);
Quickly obtain the foreground color, background color, and border settings;
Generate CSS: obtain when the current layer is a text layer Text style and generate CSS; and convert each space or line break text into a hyperlink;
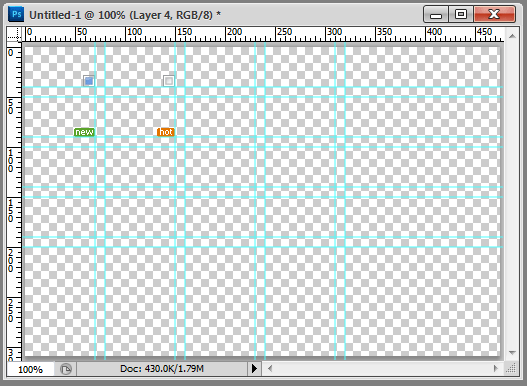
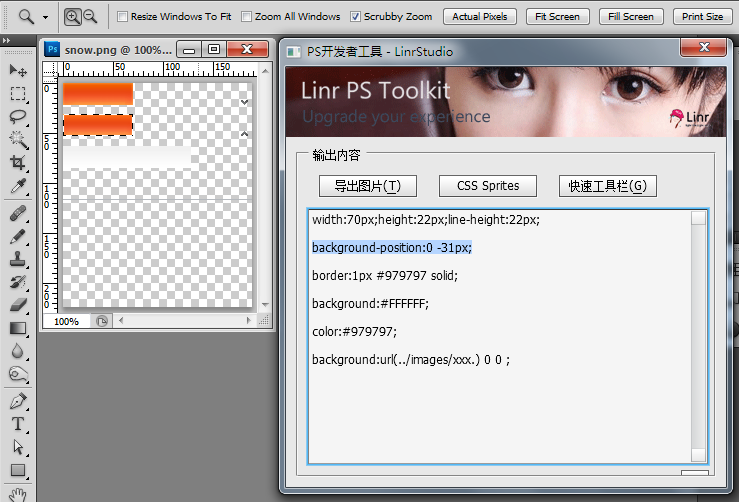
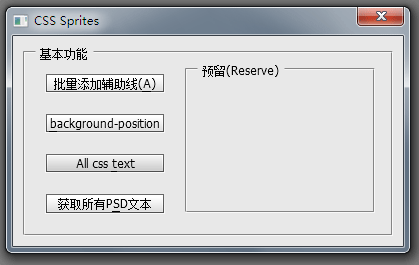
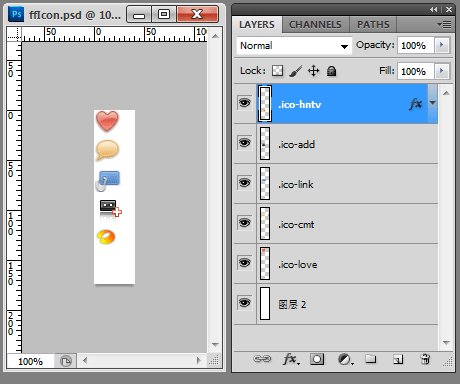
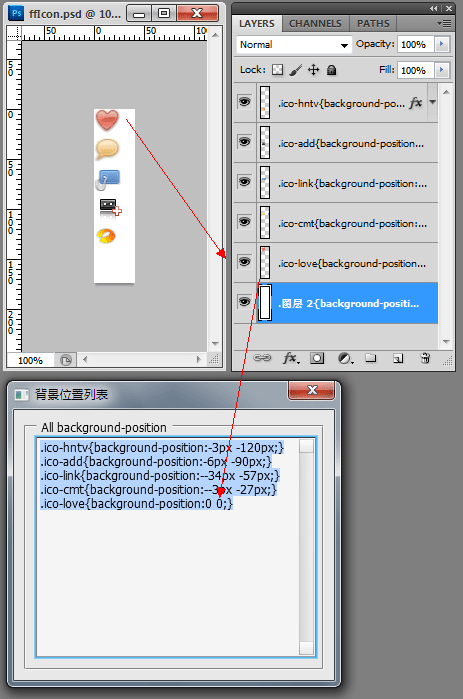
Quickly obtain the background-position of the small icons grouped together;
Integrate many practical functions that PS does not have
Videos:
http://ipnx.cn/Offsite playback (tudou)
System requirements (Require):
Window XP, Windows 7 , Windows Vista, Mac OS
Photoshop CS3+ (Photoshop CS3, Photoshop CS4, Photoshop CS5) non-lite version
Image (Gallery):

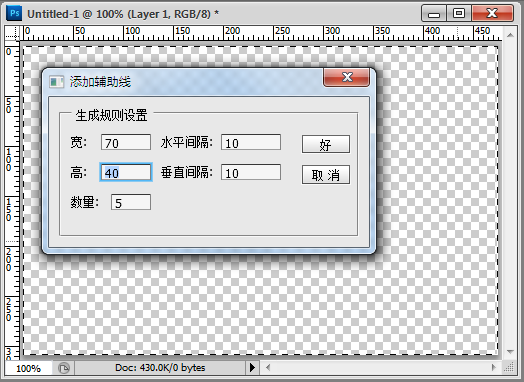
#'
Non-lite version of Photoshop: in Right-click on the Photoshop icon on the desktop, select "Properties", and find "Find Target" under Windows XP ("Open File Location" under Vista or Windows 7);
- Find The following directory:
C:\Program Files\Adobe Photoshop CS5\Presets\Scripts, decompress the downloaded file and copy it in; (Please refer to the bold part according to your Photoshop Depends on the installation situation)
- Open Photoshop again. If Photoshop is already open, please exit first, restart Photoshop, let LinrPSToolkit read it, and the installation is complete.
- Open Finder and enter the Application directory on the left;
- Find the following Directory: Adobe Photoshop CS
5.app, click to expand the directory on the right; (the bold part depends on your Photoshop installation)
- and then find Presets/Scripts, decompress the downloaded file and copy it in;
- Then open Photoshop. If Photoshop is already open, please exit first, restart Photoshop, and let LinrPSToolkit read it. The installation is complete .
- Open Photoshop, select the "Window" menu, and click " Action" (Action). Then click in the action panel, create a new action, give it a name (such as "PS"), select the shortcut key as "F2", and then click "Record";
- In the "Action" panel In the upper right corner, click once, a menu will appear, select "Insert Menu Item";
- Find "
Filter" and find "Photoshop Developer" in the menu Tool", then OK. And remember to stop recording actions (on the action panel, remember to stop recording);
- has been installed, open a picture, select all (Ctrl+A), press Press F2 and try. If the "First time use" setting screen appears, congratulations on successful installation^^*.
How to use the streamlined version of Photoshop?
Users of the streamlined version of Photoshop may receive the error message "Runtime error: window has no constructor. Line: 433->" (Thanks to liner_z for the feedback).
Please download ScriptingSupport.8li from the Internet (or copy it from a friend), and then place it in C:\Program Files\Adobe Photoshop CS5\Plug-ins\ Extensions\ directory
For more Linr PS toolkit (Photoshop developer auxiliary tools) related articles, please pay attention to the PHP Chinese website!

Hot AI Tools

Undress AI Tool
Undress images for free

Undresser.AI Undress
AI-powered app for creating realistic nude photos

AI Clothes Remover
Online AI tool for removing clothes from photos.

Clothoff.io
AI clothes remover

Video Face Swap
Swap faces in any video effortlessly with our completely free AI face swap tool!

Hot Article

Hot Tools

Notepad++7.3.1
Easy-to-use and free code editor

SublimeText3 Chinese version
Chinese version, very easy to use

Zend Studio 13.0.1
Powerful PHP integrated development environment

Dreamweaver CS6
Visual web development tools

SublimeText3 Mac version
God-level code editing software (SublimeText3)

Hot Topics
 What are some common keyboard shortcuts that can significantly speed up a Photoshop workflow?
Jul 07, 2025 am 12:17 AM
Mastering Photoshop shortcut keys can significantly improve work efficiency. 1. Zoom and Navigation: Z key activates the zoom tool, Space bar Drag the quick pan canvas, double-click Z key to adapt the image to the window size, Ctrl/Cmd/-adjust the zoom level; 2. Layer management: Ctrl Shift N creates a new layer, Ctrl G group, Ctrl E merges layers, Shift [or] moves the layer level, Ctrl Click on the layer thumbnail to quickly select content; 3. Select and brush adjustment: M and L to switch rectangular marquee and lasso tools respectively, Shift adds/Alt to subtract selections, [or] adjusts the brush size, Shift [or] adjusts the hardness, so as to achieve efficient editing and smooth operation.
 How to restore an old photograph in Photoshop
Jul 12, 2025 am 12:40 AM
Repairing old photos can be achieved through key steps in Photoshop. The first is scanning and preliminary adjustment, including high-resolution scanning, cropping images, rotation correction and brightness/contrast adjustment; the second is to remove scratches and stains, use the imitation stamp tool to deal with large-area damage, repair tools to deal with small scratches, and pay attention to low transparency overlay and layering operations; the third is optional coloring and color tuning, and use the "hue/saturation" adjustment layer to increase retro tone; the last is to polish and output, check details, adjust sharpness, confirm resolution and select a suitable format to save. The entire process requires patience and meticulousness, especially when dealing with key parts such as the facial features of the characters.
 How to change the language in Photoshop
Jul 02, 2025 am 12:09 AM
The method to change the interface language in Photoshop is as follows: 1. Open Photoshop and click "Edit" in the top menu bar; 2. Select "Preferences" > "Interface"; 3. Select the desired language in the "User Interface Language" drop-down menu, and restart the software to take effect. This feature is only applicable to installation packages that support multilingual versions. If the option is not available, it may be that a single language version is installed. You can reinstall other language versions through the CreativeCloud client. Manual replacement of the language package is not recommended. Changing the language will not affect the file content, function logic or shortcut key settings, but some plug-ins may still display the original language. You need to pay attention to interface consistency issues when collaborating.
 What is the difference between raster and vector graphics within Photoshop?
Jul 04, 2025 am 12:18 AM
Raster and vector graphics have different uses in Photoshop, and understanding their differences can help design decisions. Raster graphics are made of pixels and are suitable for photos and complex textures, but the scaling will blur; Vector graphics are based on mathematical formulas and can be scalable without loss, suitable for logos, icons and clear line art. Use the shape tool in Photoshop or importing EPS/PDF files to create Vector graphics, but loses scalability once rasterized. Using Raster includes editing photos, applying filters, or creating textured artworks; using Vector includes designing logos that need to be scaled, adding clear text or shapes. Both can coexist in the same file, but need to be cleared
 What are the key differences between Layer Masks and Vector Masks, and when should each be used?
Jul 16, 2025 am 12:03 AM
LayerMasks and VectorMasks are used in Photoshop with similar uses but different principles. LayerMasks is based on pixels and uses grayscale values to control the display and hiding of layer areas. It is suitable for photo detail editing, soft transition effects and fine brush adjustments, but zooming in may lead to jagging; VectorMasks is based on vector paths and shapes, and has resolution irrelevant resolution. It is suitable for graphics that require clear edges such as logos, icons or text frames, and can be scaled losslessly; the selection is based on the content type (photo or graphics), whether the size needs to be greatly adjusted, and the required edge effects (soft or sharp), and sometimes combined use can give full play to their respective advantages.
 How can vector shapes be created and manipulated in Photoshop?
Jul 14, 2025 am 12:01 AM
TocreateandmanipulatevectorshapesinPhotoshop,usetheShapeToolstodrawvectorpathsonshapelayers,editanchorpointswiththeDirectSelectionTool,combineorsubtractshapesusingpathoperations,andrasterizewhennecessary.First,selectthedesiredshapetool—Rectangle,Elli
 How to select a specific color range in Photoshop
Jul 12, 2025 am 12:37 AM
ToselectaspecificcolorrangeinPhotoshop,usetheColorRangetool.1.GotoSelect>ColorRangeandclicktheeyedropperonthedesiredcolor.2.AdjusttheFuzzinessslidertocontrolselectionbreadth.3.AddmoresampleswithShift-clicks.4.EnableLocalizedColorClustersforcomplex
 How to create a custom gradient in Photoshop
Jul 07, 2025 am 12:24 AM
The key to creating a custom gradient in Photoshop is to master the use of the gradient editor. 1. First select the gradient tool (shortcut key G), click the top preview bar to open the "Gradge Editor"; 2. Click "New" in the editor to start customization, and you can also modify the style in the built-in gradient library; 3. Set color transition by adding, deleting and dragging the color slider, and double-clicking the slider to select specific colors; 4. Adjust the opacity stop point to control the transparency changes, click the diamond icon to add the transparency node; 5. Select linear, radial and other types in the gradient tool options to match design needs, and you can get started quickly after you are proficient.


