

How to Fix Roblox 403 Forbidden Error on Google Chrome
May 19, 2023 pm 01:49 PM
Many Windows users have recently encountered an unusual error called Roblox 403 Forbidden Error while trying to access website URLs in Google Chrome browser. They tried restarting the Chrome app multiple times, but to no avail.
There could be several potential causes for this error, some of which we've outlined and listed below.
- Chrome’s browsing history and other cache and corrupted data
- Unstable internet connection
- Incorrect website URL
- From a third party Source Installed Extension
After considering all the above factors, we have come up with some solutions to assist users in solving this problem. If you encounter the same problem, check out the solutions in this article.
Fix 1 – Clear Chrome’s Browsing Data, Cookies and Other Cache
Sometimes the main reason for this issue is that the browsing data, cookies and other cache data are corrupted in Google Chrome.
So, it’s best to clear Chrome’s browsing and other data using the instructions outlined below.
Step 1: Press the windows key and enter google chrome to open Google Chrome.
Step 2: Select Google Chrome from the search results as shown below.
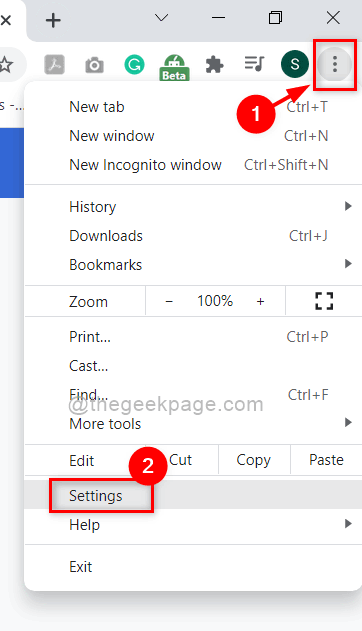
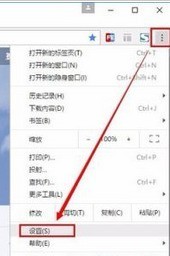
Step 3: In the Google Chrome app, click the three vertical dots in the upper right corner (shows more options), as shown in the picture shown.
Step 4: Then, select Settings from the list.
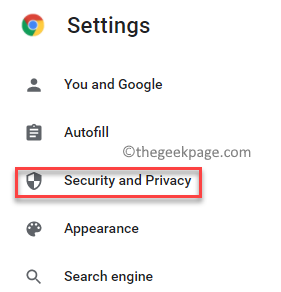
Step 5: On the Settings page, click Security & Privacy in the left menu as shown below.
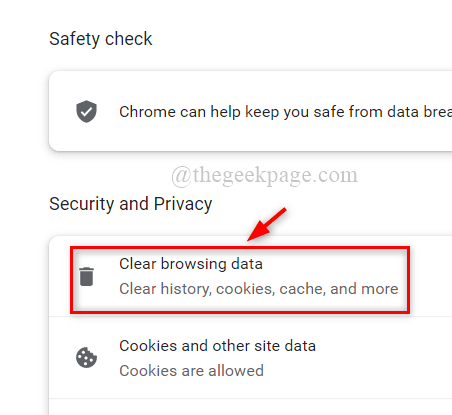
Step 6: Click Clear browsing data, as shown in the figure below.
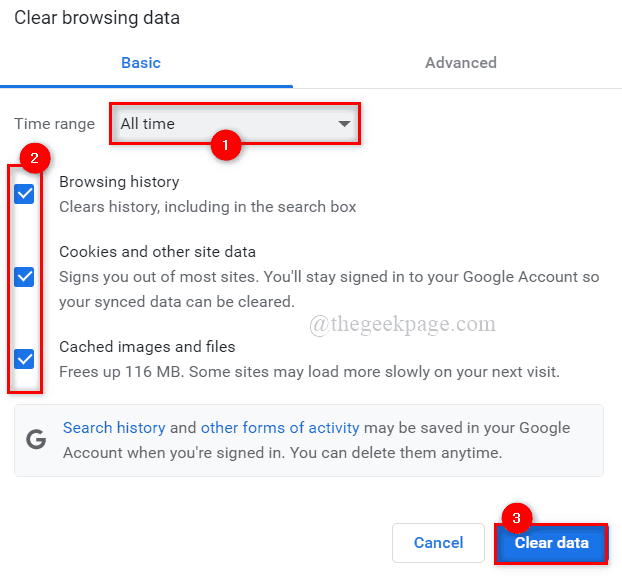
Step 7: Then, select All time as Time range.
Step 8: Check all three checkboxes (Browsing History, Cookies and Other Site Data, and Cached Images and Files).
Step 9: Once completed, click Clear Data to delete browsing data from Google Chrome as shown below.
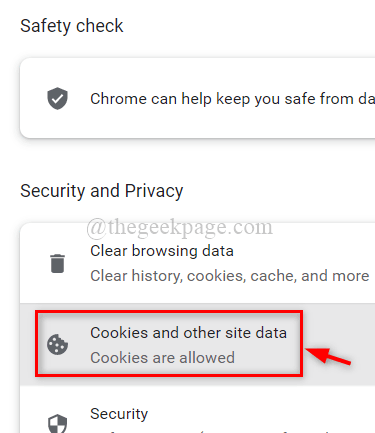
#Step 9: After clearing your data, click on the Security & Privacy page in the left menu.
Step 10: Select the Cookies and Other Site Data option as shown below.
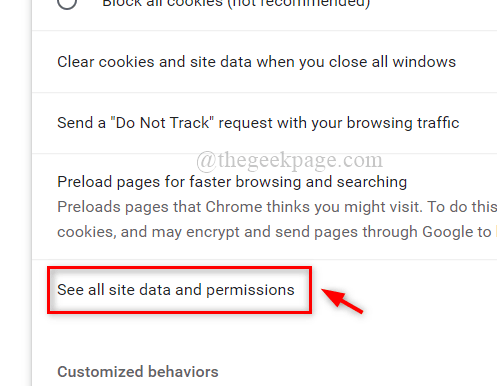
Step 11: Scroll down the page and click View all site data and permissions.
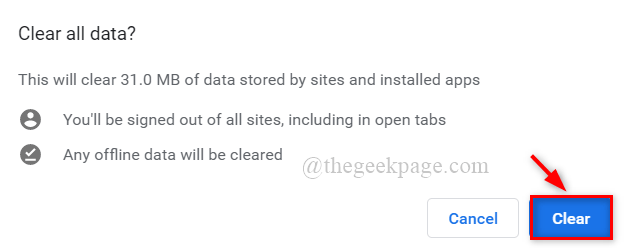
Step 12: Once completed, click the Clear All Data option in the upper right corner, as shown in the picture.
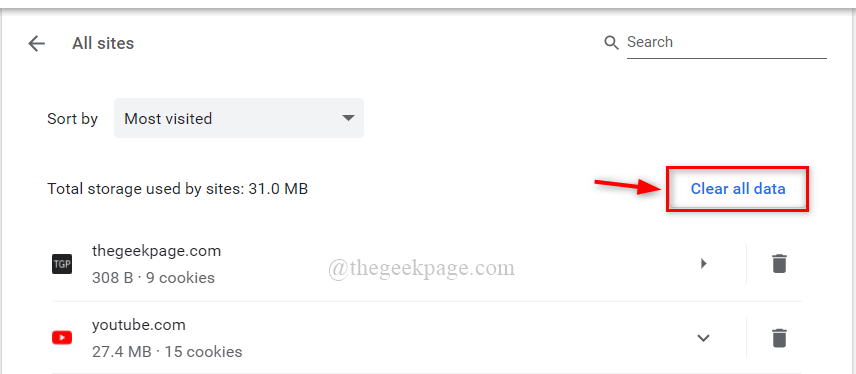
Step 13: In the Clear All Data window, click the Clear button to delete all cookies stored in Google Chrome.
Step 14: Close the settings page and restart the Google Chrome app once.
Now check if the problem still exists.
Fix 2 – Change DNS Server Address
DNS server address, like website URLs and web servers, is a mapping of IP addresses to their corresponding domain names.
Therefore, the browser may display this error if the DNS server address is changed.
Therefore, we recommend that you change the DNS server address on your PC via a network connection, which is outlined in the simple steps below.
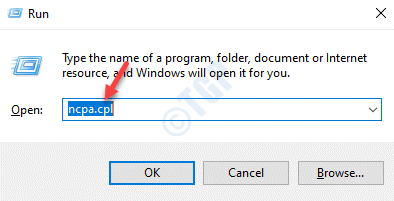
Step 1: Press the Windows R keys simultaneously on your keyboard to open the Run command box.
Step 2: Type ncpa.cpl in the "Run" box and press the Enter key to open the "Network Connection" window.
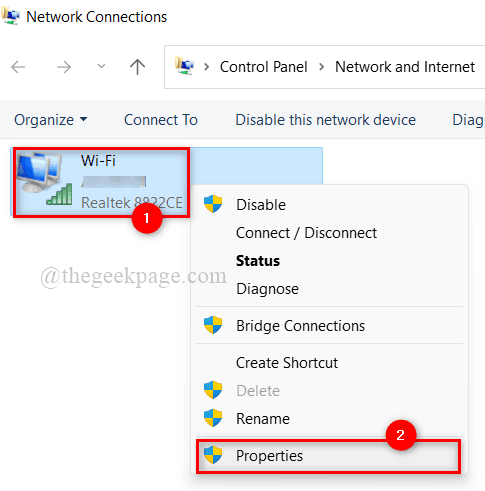
Step 3: On the Network Connections page, right-click the Ethernet or Wi-Fi network connection you are using.
Step 4: Then, select Properties from the context menu as shown in the screenshot below.
Step 5: In the Network Properties window, click once to select Internet Protocol Version 4 (TCP/IPv4).
Step 6: Then, click the Properties button below it.

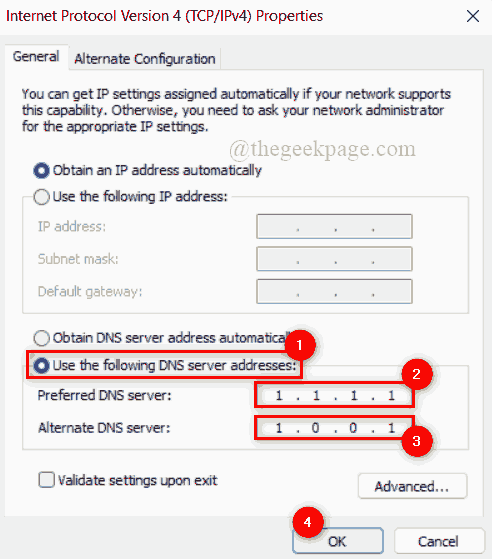
Step 7: This will open the Internet Protocol Version 4 Properties window.
Step 8: Click the Use the following DNS server address radio button as shown below.
Step 9: Enter 1 1 1 1 in Preferred DNS Server and 1 0 in Alternate DNS Server 0 1, as shown in the picture.
Step 10: Click OKClose the TCP/IPv4 Properties window.
Step 11: Then, close all windows and restart the system once.
Step 12: After the system starts, check whether the problem still exists.
Hope this solves the problem.
Fix 3 – Disable extensions in Chrome
To increase browser speed, extensions are always preferable. Despite the improved functionality of chrome browser, extensions can be harmful to the browser if they are downloaded and installed from any third-party unreliable sources.
Therefore, we recommend our users to disable extensions in chrome browser using the simple steps given below.
Step 1: Press the windows key and enter google chrome to open Google Chrome.
Step 2: Select Google Chrome from the search results as shown below.
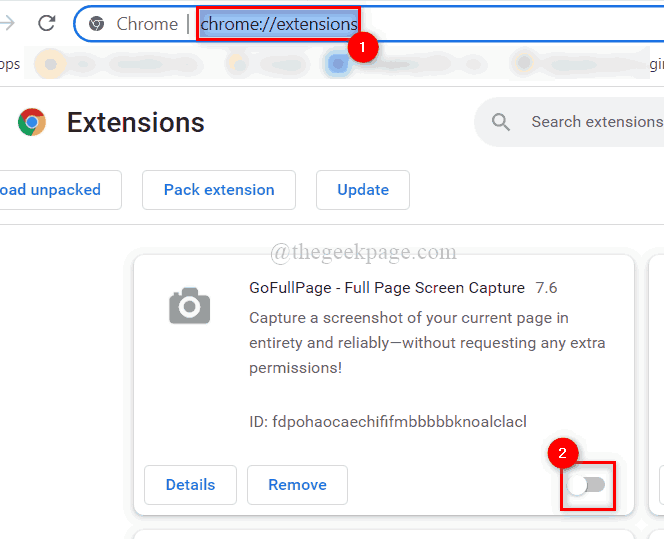
Step 3: In a new tab, copy and paste the given path below and press Enter key.
鉻://擴(kuò)展/
Step 4: On the extension page, click the extension's toggle button (e.g. GoFullPage) to turn it off , as below shown in the screenshot.
Step 5: Repeat the same for all other extensions installed in your Chrome browser.
Step 6: Once completed, restart the chrome browser and check if the problem occurs.
The above is the detailed content of How to Fix Roblox 403 Forbidden Error on Google Chrome. For more information, please follow other related articles on the PHP Chinese website!

Hot AI Tools

Undress AI Tool
Undress images for free

Undresser.AI Undress
AI-powered app for creating realistic nude photos

AI Clothes Remover
Online AI tool for removing clothes from photos.

Clothoff.io
AI clothes remover

Video Face Swap
Swap faces in any video effortlessly with our completely free AI face swap tool!

Hot Article
Hot Tools

Notepad++7.3.1
Easy-to-use and free code editor

SublimeText3 Chinese version
Chinese version, very easy to use

Zend Studio 13.0.1
Powerful PHP integrated development environment

Dreamweaver CS6
Visual web development tools

SublimeText3 Mac version
God-level code editing software (SublimeText3)
Hot Topics


 How to install Doubao browser plug-in version - Doubao browser plug-in installation method
May 07, 2024 pm 07:16 PM
How to install Doubao browser plug-in version - Doubao browser plug-in installation method
May 07, 2024 pm 07:16 PM
Doubao is a comprehensive and powerful AI. With its support, we can write, draw, check information and other tasks more quickly, thus greatly improving work efficiency. Doubao has a PC client and a browser plug-in. The following editor will introduce the installation method of the Doubao browser plug-in. For those who are not sure, let’s take a look! 1. Take Google Chrome as an example. First, we go to the official website of Doubao Download the beanbao plug-in directly. 2. After downloading the Doubao browser plug-in version, we open the extension page in Google Chrome and turn on the [Developer Mode] in the upper right corner. 3. Next, we drag the downloaded Beanbao plug-in into the Google Chrome page. 4. If a window like this pops up, just click [Add Extension]. 5. After the installation is completed,
 What's the matter with Railway 12306 not working?
Apr 30, 2024 am 11:42 AM
What's the matter with Railway 12306 not working?
Apr 30, 2024 am 11:42 AM
Reasons for 12306 being unavailable include website maintenance, network problems, browser problems, system failures, busy servers and plug-in interference. Solutions include: checking maintenance time, checking network connection, changing browsers, waiting for system repair, and disabling browser plug-ins.
 How to add trusted sites in Google Chrome
Jul 19, 2024 pm 04:14 PM
How to add trusted sites in Google Chrome
Jul 19, 2024 pm 04:14 PM
How to add trusted sites in Google Chrome? Some users cannot browse the web normally because the page prompts that it is not secure when surfing the Internet. At this time, they can add the website as a trusted site, and we can access it normally and surf the Internet smoothly. The editor below will bring you the steps to add a trusted site in Google Chrome. The steps are simple and easy to operate, and even beginners can easily get started. Friends who need it can learn about it together. How to add a trusted site in Google Chrome: 1. Open Google Chrome and click the three dots in the upper right corner. Click [Settings]. Choose privacy settings and security. (As shown in the picture) 2. Click Website Settings at the bottom of the page. (As shown in the picture) 3. Click on the unsafe content at the bottom of the page. (As shown in the picture) 4. Click the Add button to the right of the Allow option. (As shown in the picture) 5. Lose
 What is the middle mouse button? What is the use of pressing the middle mouse button?
May 09, 2024 pm 12:40 PM
What is the middle mouse button? What is the use of pressing the middle mouse button?
May 09, 2024 pm 12:40 PM
What is the middle mouse button? In fact, it is the mouse wheel. You can slide the wheel up and down to view the page easily. But if you click the wheel, then this is the so-called middle button. In different software, the middle mouse button may have different functions. It depends on the software settings. How is it defined. The middle mouse button is actually a click on the mouse wheel. The middle mouse button has different functions in different software programs, but it may also have no effect at all. 1. Change to continuous scrolling mode. Clicking the middle mouse button while browsing the web will change to continuous scrolling mode. At this time, the user only needs to move the mouse up and down to slide the page. 2. Open a new tab. For example, in Google Chrome, if the user uses the middle mouse button to click on a web page hyperlink, then
 How to screenshot the entire content of a web page in Chrome? How to screenshot the entire web page in Google Chrome
May 08, 2024 am 08:50 AM
How to screenshot the entire content of a web page in Chrome? How to screenshot the entire web page in Google Chrome
May 08, 2024 am 08:50 AM
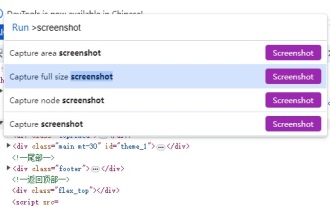
How to screenshot the entire content of a web page in Chrome? The Google Chrome you have downloaded does not have its own screenshot function. Users want to know how to screenshot the entire web page. Here I will share with my friends how to screenshot the entire web page in Google Chrome. The main purpose is to see if there is any way to screenshot the entire web page without installing a plug-in. method can be achieved. Taking a screenshot of the entire webpage in Chrome It is more complicated to take a screenshot of the entire webpage in Chrome, because the built-in function is hidden in the developer options. Don't worry! You'll do it by following the steps below. 1. Click the F12 key on the Chrome interface to quickly enter the developer tools directory. 2. Then press the key combination Ctrl+Shift+P and enter [scre
 Introduction to the specific process of setting up Thunder downloads in Google Chrome
May 09, 2024 pm 01:01 PM
Introduction to the specific process of setting up Thunder downloads in Google Chrome
May 09, 2024 pm 01:01 PM
First install Google Chrome and Thunder software. After installation, open Google Chrome and click on the Settings option. Then we select the extension in the settings options. Because we want to enable Thunder downloads, which is generally not available here, so click below to get more extensions. Then we enter Google's online app store and enter [Thunder] in the search box and select the first related search in the drop-down box. At this time, we find the extension column in the display results, and then find thunderdownload extension for chrome. Then click Free on the right to download and install. Then it will be displayed after the addition is successful. Next, enter the extension program. You will find that the newly added Thunder extension program is enabled, indicating that
 How to install postman on Google Chrome
Jul 01, 2024 pm 02:18 PM
How to install postman on Google Chrome
Jul 01, 2024 pm 02:18 PM
How to install postman on Google Chrome? Google Chrome is a very powerful browser tool. In this browser, users can freely install various plug-ins according to their own needs. Among them, the postman plug-in is mainly designed for interface testing, and many users need to use it. This plug-in is used for interface testing, so how to install the postman plug-in in Google Chrome. Next, let the editor introduce to you the tutorial on installing the postman plug-in in Google Chrome. Friends who are not sure about the specific steps should hurry up and take a look at the details. Tutorial introduction to installing the postman plug-in in Google Chrome 1. We first open the Google Chrome installed on the computer, and then click More in the upper right corner of the browser
 Detailed introduction to the process of opening the flash plug-in in Google Chrome
May 09, 2024 pm 03:52 PM
Detailed introduction to the process of opening the flash plug-in in Google Chrome
May 09, 2024 pm 03:52 PM
First we open the chrome Google browser. Then we click the small [three] icon in the upper right corner and select the [Settings] option from the drop-down options. Then we enter the settings interface, drag the page scroll bar to the bottom, find the [Show advanced settings] button and click it. At this time, in the advanced settings options, find the privacy settings and click the [Content Settings] button. The content setting information box pops up, find the plug-in column, and click [Manage various plug-ins]. The last step is to pop up a new window of [Plugins], find the flashplayer plug-in, and check the [Always Allow] button.